Publish your website as a public secured service
Requirements
- Read the previous chapter Deploy abcdesktop on GCP with Kubernetes
- a GCP account
- your own internet domain
gcloudcommand line interface gcloud clikubectlcommand linewgetcommand line
Overview
In this chapter, we will use a LoadBalancer service to expose your abcdesktop instance with a public IP address, configure the DNS zone file to use your domain name, and enable TLS to secure your service.
Create a new http-router service yaml file
The default installation configures the http-router service as a nodePort type. We will update the http-router service to use a LoadBalancer type.
Create a file named http-router.yaml:
kind: Service
apiVersion: v1
metadata:
  name: http-router
  labels:
    abcdesktop/role: router-od
spec:
  type: LoadBalancer
  selector:
    run: router-od
  ports:
  - protocol: TCP
    port: 443
    targetPort: 443
    name: https
  - protocol: TCP
    port: 80
    targetPort: 80
    name: http
Save the http-router.yaml file.
Delete the previous http-router service:
NAMESPACE=abcdesktop
kubectl delete service http-router -n $NAMESPACE
service "http-router" deleted
Create the new service/http-router:
NAMESPACE=abcdesktop
kubectl apply -f http-router.yaml -n $NAMESPACE
You should see the following output:
service/http-router created
Wait a few minutes; the EXTERNAL-IP of the http-router service remains in Pending state:
NAMESPACE=abcdesktop
kubectl get services http-router -n $NAMESPACE
NAME          TYPE           CLUSTER-IP       EXTERNAL-IP   PORT(S)                      AGE
http-router   LoadBalancer   34.118.231.121   <pending>     443:31089/TCP,80:32012/TCP   4s
Check the EXTERNAL-IP of the http-router service again:
NAMESPACE=abcdesktop
kubectl get services http-router -n $NAMESPACE
The service has been assigned
34.59.246.150as itsEXTERNAL-IP.
NAME          TYPE           CLUSTER-IP       EXTERNAL-IP     PORT(S)                      AGE
http-router   LoadBalancer   34.118.231.121   34.59.246.150   443:31089/TCP,80:32012/TCP   33s
Open a web browser to access your abcdesktop service using the IP address.
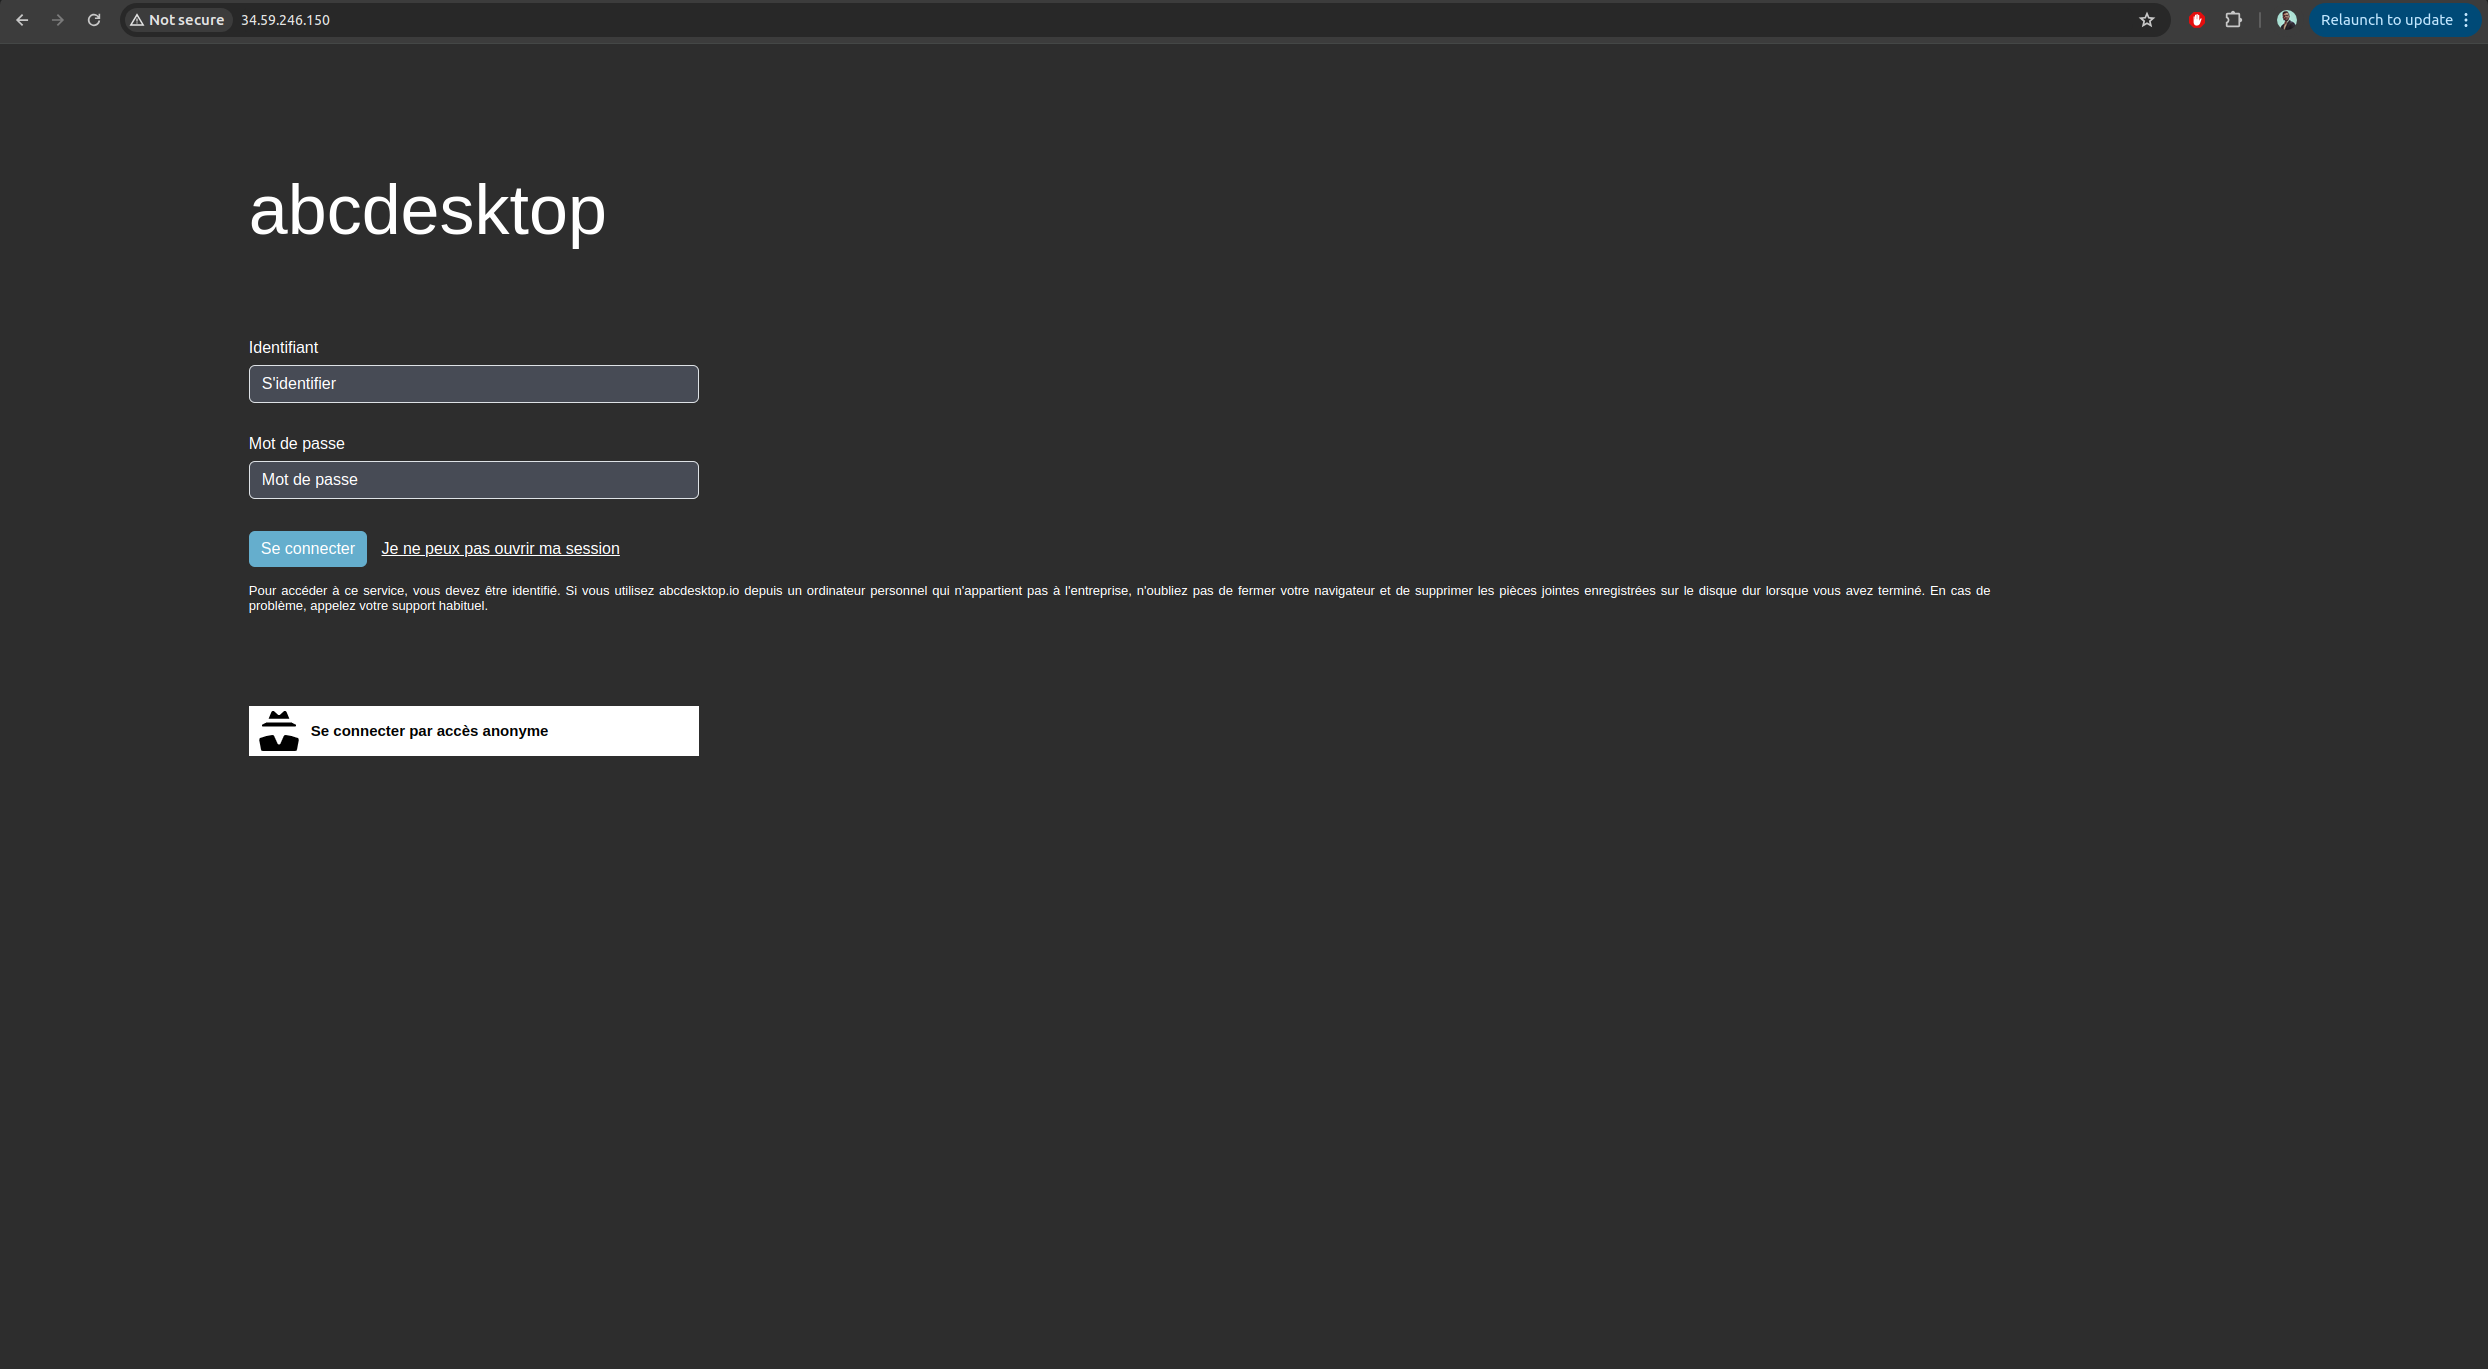
Web browsers block WebSocket connections without a secure protocol. To log in, use the https protocol.
Update your DNS zone file
We will use a FQDN (Fully Qualified Domain Name) to replace the IP address.
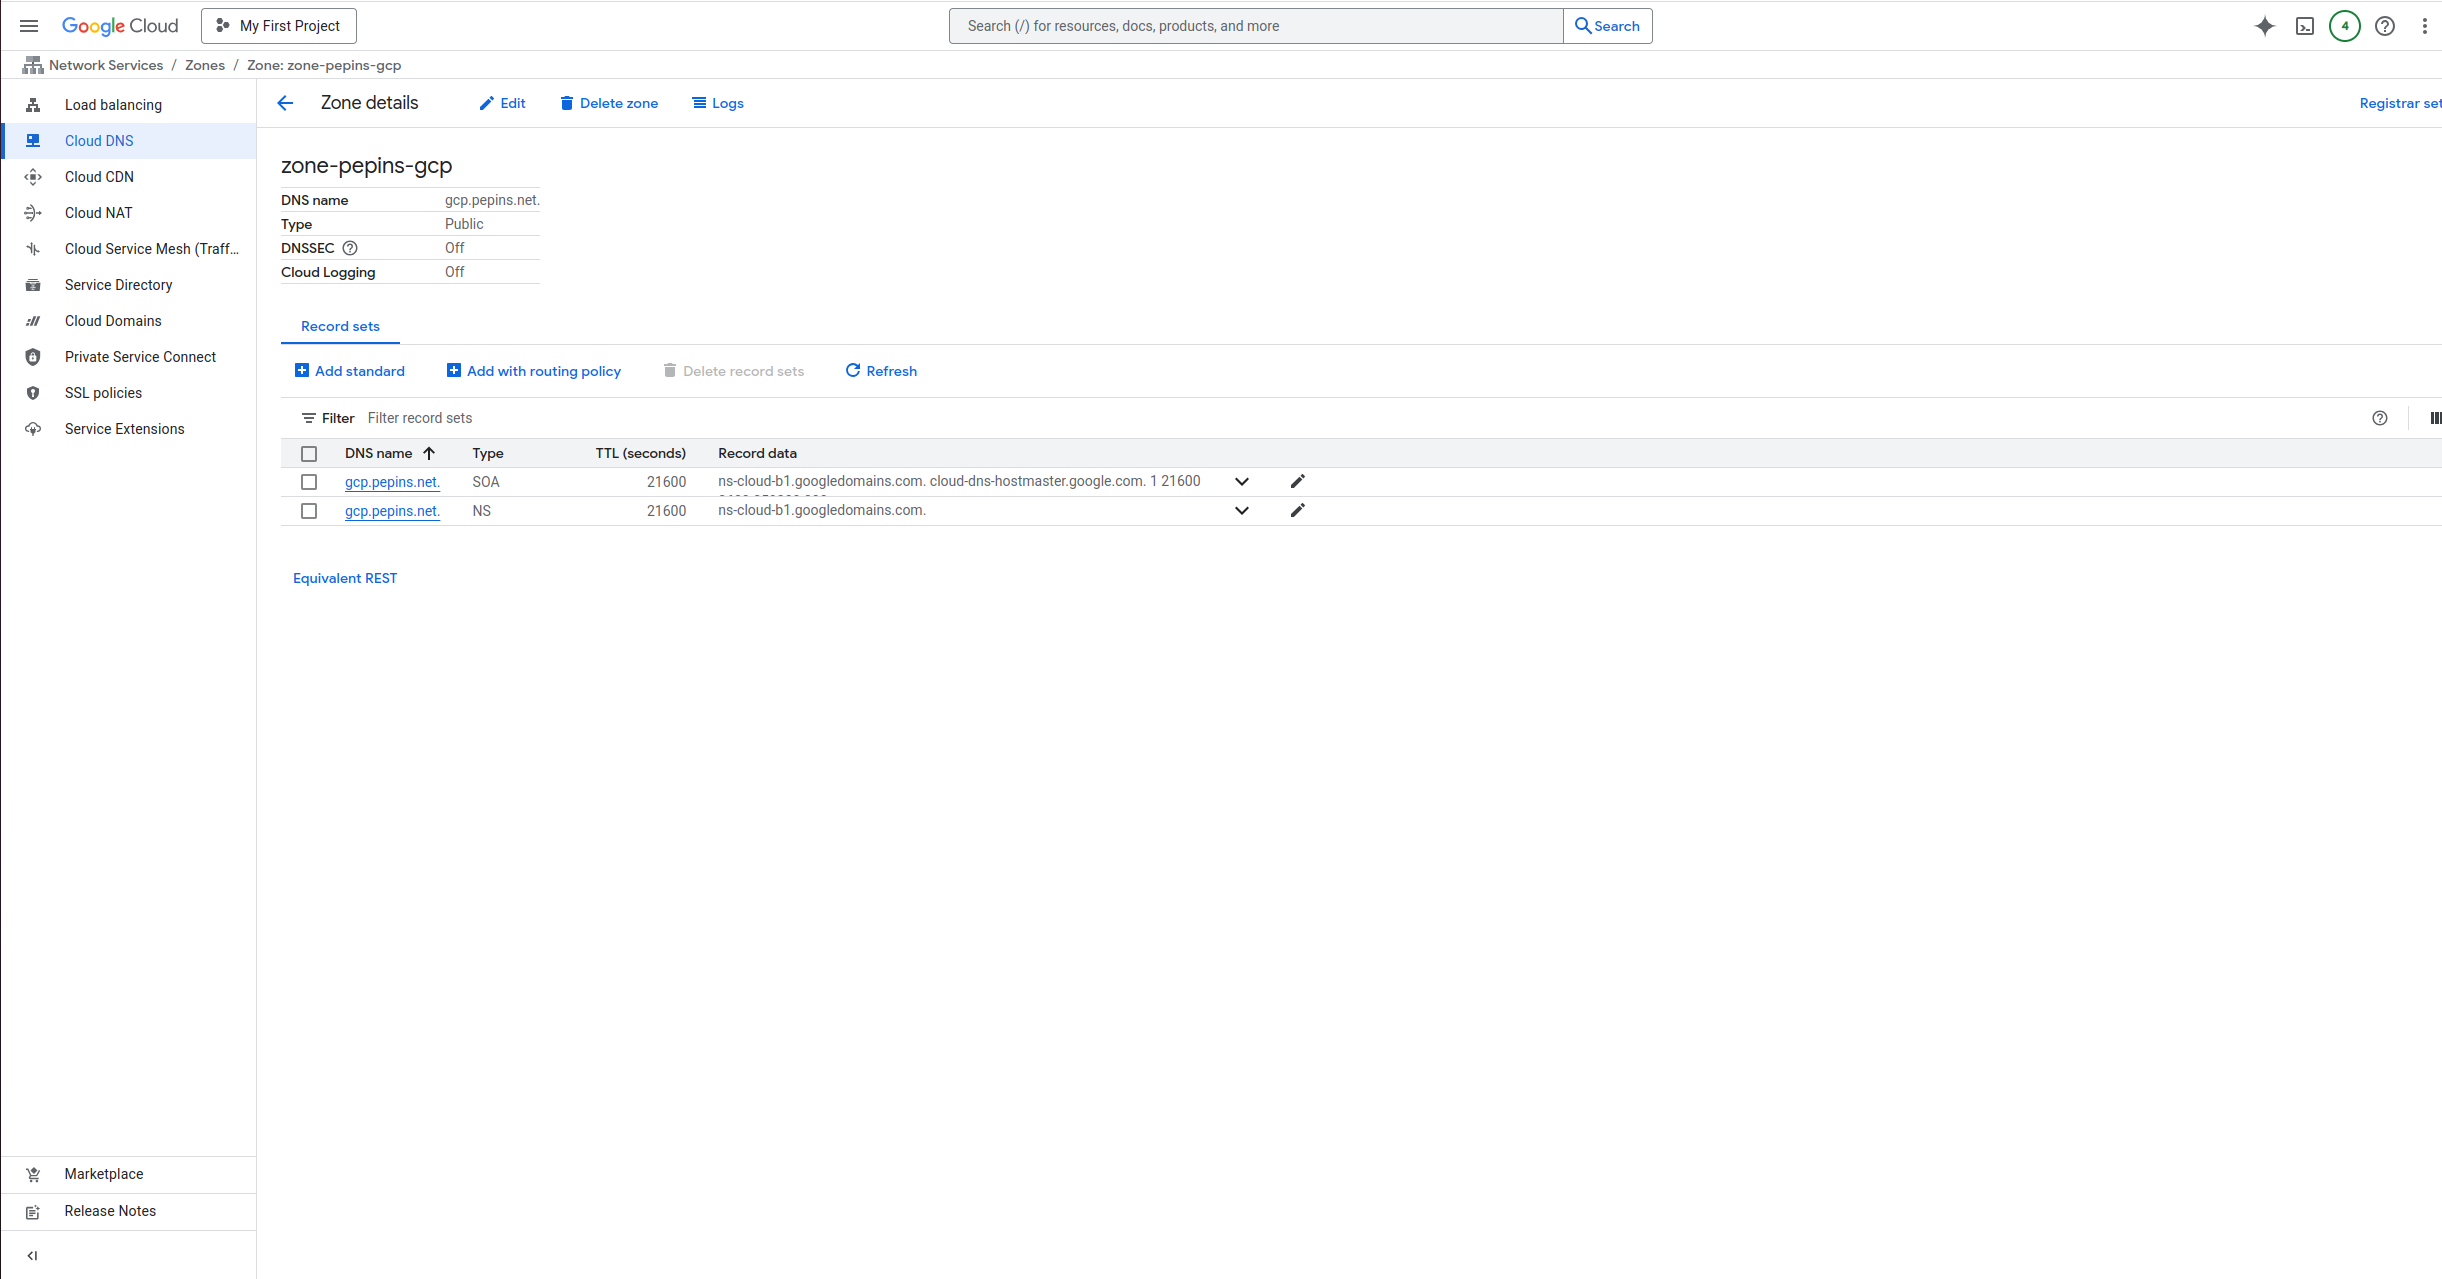
This screenshot shows the GCP network console displaying the Domain configuration. You can also manage your zone file directly through your domain registrar. For more information about Cloud DNS, see the documentation.
Create new record
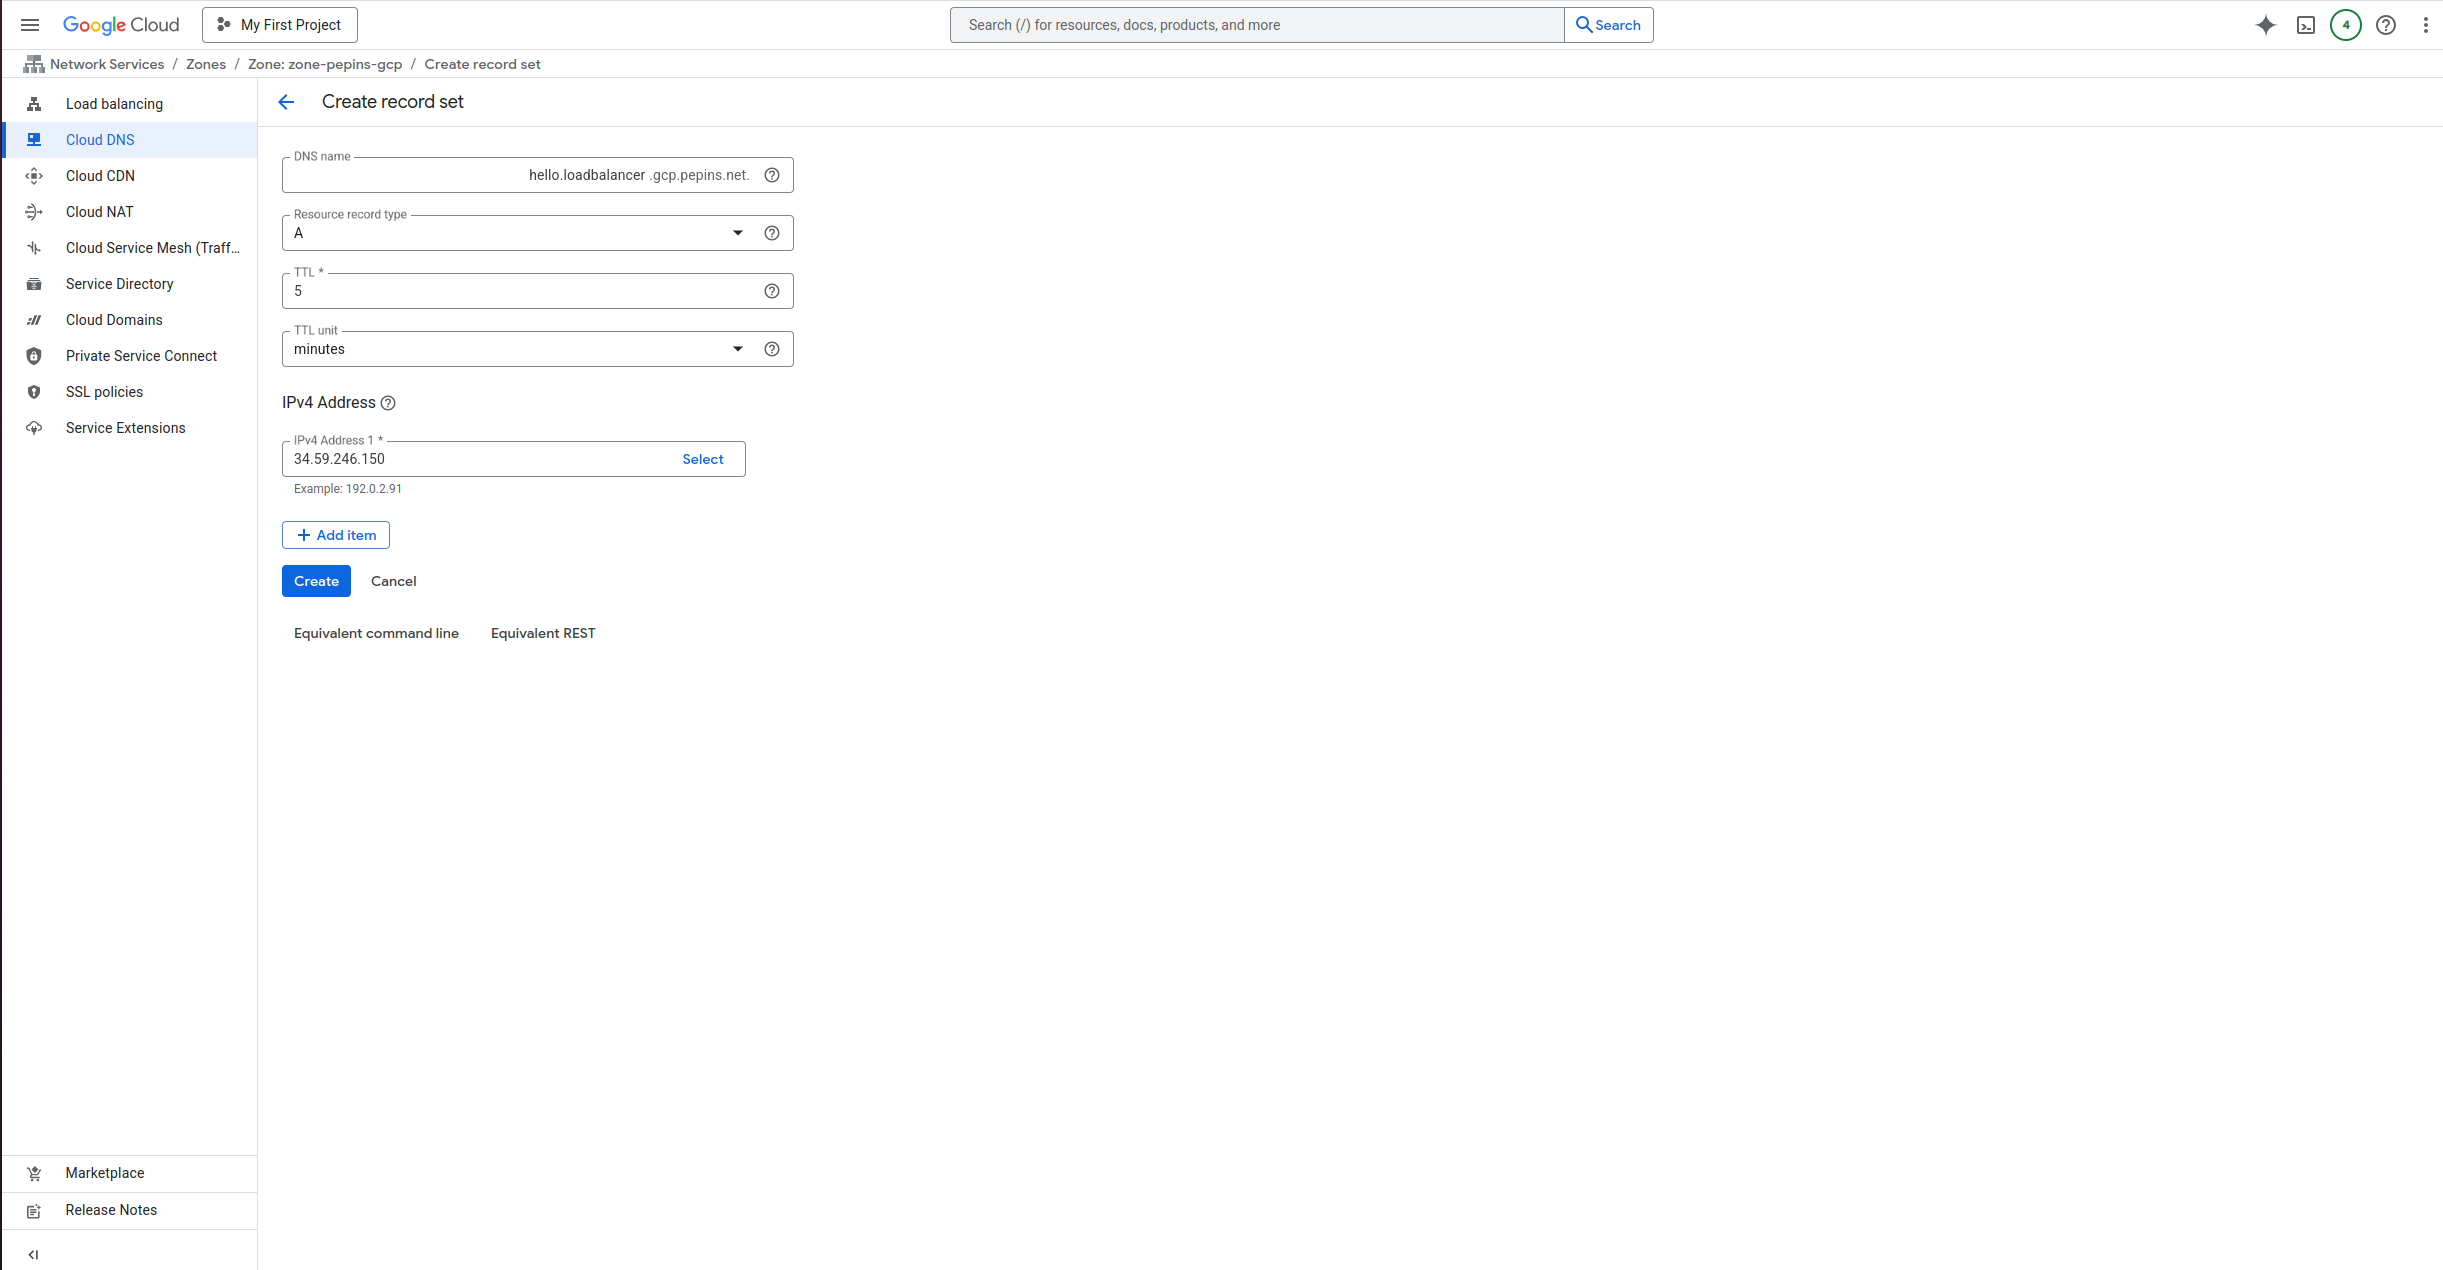
Create a new A record named hello.loadbalancer (hello.loadbalancer.gcp.pepins.net) pointing to 34.59.246.150. Setting a low TTL value is recommended to allow faster propagation of changes.
The IP address is displayed in the GCP network console and corresponds to the EXTERNAL-IP of your http-router service.
NAMESPACE=abcdesktop
kubectl get services http-router -n $NAMESPACE
This returns an EXTERNAL-IP:
NAME          TYPE           CLUSTER-IP       EXTERNAL-IP     PORT(S)                      AGE
http-router   LoadBalancer   34.118.231.121   34.59.246.150   443:31089/TCP,80:32012/TCP   33s
Click Add Standard to update your zone file with the new record.
The new record should then appear on your domain page.

From your local device, open a web browser.

Web browsers block WebSocket connections without a secure protocol. To log in, use the https protocol.
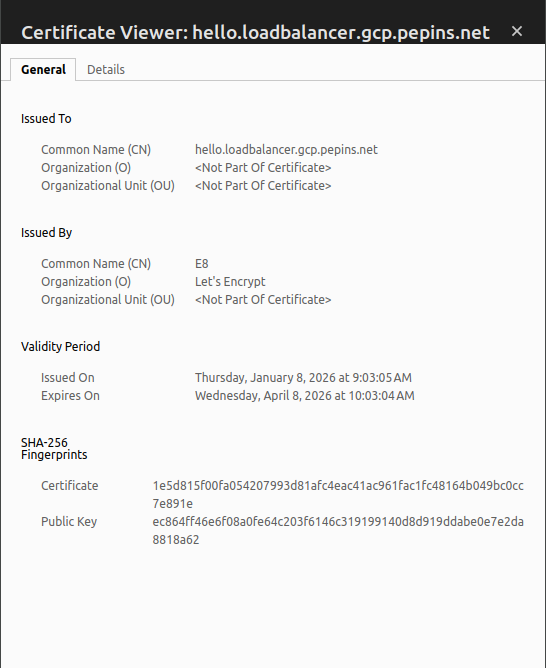
Your website is marked as Not Secured. We will add an X.509 SSL certificate to secure the service.
Obtain a Certificate
If you already have an X.509 certificate with private and public key files for your website, you can skip this section.
To obtain an SSL certificate, this guide uses the Let's Encrypt service. You will need your hostname and your email address.
Define the variables ABCDESKTOP_PUBLIC_FQDN and USER_EMAIL_ADDRESS:
NAMESPACE=abcdesktop
ABCDESKTOP_PUBLIC_FQDN=hello.loadbalancer.gcp.pepins.net
USER_EMAIL_ADDRESS=thisisyouremail@domain.com
ROUTER_POD_NAME=$(kubectl get pods -l run=router-od -o jsonpath={.items..metadata.name}  -n abcdesktop)
kubectl exec -n $NAMESPACE -it ${ROUTER_POD_NAME} -- /usr/bin/certbot certonly --webroot -w /var/lib/nginx/html -d ${ABCDESKTOP_PUBLIC_FQDN} -m "${USER_EMAIL_ADDRESS}" --agree-tos -n
You should see the following output:
Saving debug log to /var/log/letsencrypt/letsencrypt.log
Account registered.
Requesting a certificate for hello.loadbalancer.gcp.pepins.net

Successfully received certificate.
Certificate is saved at: /etc/letsencrypt/live/hello.loadbalancer.gcp.pepins.net/fullchain.pem
Key is saved at:         /etc/letsencrypt/live/hello.loadbalancer.gcp.pepins.net/privkey.pem
This certificate expires on 2026-04-08.
These files will be updated when the certificate renews.

NEXT STEPS:
- The certificate will need to be renewed before it expires. Certbot can automatically renew the certificate in the background, but you may need to take steps to enable that functionality. See https://certbot.org/renewal-setup for instructions.

- - - - - - - - - - - - - - - - - - - - - - - - - - - - - - - - - - - - - - - -
If you like Certbot, please consider supporting our work by:
 * Donating to ISRG / Let's Encrypt:   https://letsencrypt.org/donate
 * Donating to EFF:                    https://eff.org/donate-le
- - - - - - - - - - - - - - - - - - - - - - - - - - - - - - - - - - - - - - - -
The fullchain.pem and privkey.pem files are stored inside the container.
Certificate is saved at: /etc/letsencrypt/live/hello.loadbalancer.gcp.pepins.net/fullchain.pem
Key is saved at:         /etc/letsencrypt/live/hello.loadbalancer.gcp.pepins.net/privkey.pem
Export the certificate files and create a new Kubernetes secret.
NAMESPACE=abcdesktop
kubectl exec -n $NAMESPACE -it  ${ROUTER_POD_NAME} -- cat /etc/letsencrypt/live/$ABCDESKTOP_PUBLIC_FQDN/fullchain.pem > fullchain.pem
kubectl exec -n $NAMESPACE -it  ${ROUTER_POD_NAME} -- cat /etc/letsencrypt/live/$ABCDESKTOP_PUBLIC_FQDN/privkey.pem > privkey.pem
Create a Secret for the X.509 Certificate
Create a Kubernetes secret named http-router-certificat using the fullchain.pem and privkey.pem file contents:
NAMESPACE=abcdesktop
kubectl create secret tls http-router-certificat --cert=fullchain.pem --key=privkey.pem -n $NAMESPACE
The secret has been created:
secret/http-router-certificat created
Update http-router ConfigMap to use the new http-router-certificat secret
Download abcdesktop-routehttp-config.4.4.yaml
wget https://raw.githubusercontent.com/abcdesktopio/conf/refs/heads/main/kubernetes/abcdesktop-routehttp-config.4.4.yaml
Open the abcdesktop-routehttp-config.4.4.yaml file and locate the ConfigMap named abcdesktop-routehttp-config.
Uncomment the HTTPS section and replace YOUR_SERVER_NAME_AND_DOMAIN with your actual server name and domain.
 # nginx server config
 server {
     ...

     ######
     # uncomment this to enable https
     #
     listen 443 ssl http2 default_server;
     listen [::]:443 ssl http2 default_server;
     server_name YOUR_SERVER_NAME_AND_DOMAIN; # change this too
     ssl_certificate     /etc/nginx/ssl/tls.crt;
     ssl_certificate_key /etc/nginx/ssl/tls.key;
     #
     # end of https section
     ######

     ...
     index index.html index.htm;
For example:
     listen 443 ssl http2 default_server;
     listen [::]:443 ssl http2 default_server;
     server_name hello.loadbalancer.gcp.pepins.net;
     ssl_certificate     /etc/nginx/ssl/tls.crt;
     ssl_certificate_key /etc/nginx/ssl/tls.key;
Apply the updated NGINX configuration file:
NAMESPACE=abcdesktop
kubectl apply -f abcdesktop-routehttp-config.4.4.yaml -n $NAMESPACE
Update deployment http-router
Update the deployment route to add the SSL certificate entry.
The abcdesktop-deployment-routehttps.4.4.yaml file adds mountPath: /etc/nginx/ssl to secretName: http-router-certificat.
NAMESPACE=abcdesktop
kubectl apply -f https://raw.githubusercontent.com/abcdesktopio/conf/refs/heads/main/kubernetes/abcdesktop-deployment-routehttps.4.4.yaml -n $NAMESPACE
You should see the following output:
deployment.apps/router-od configured
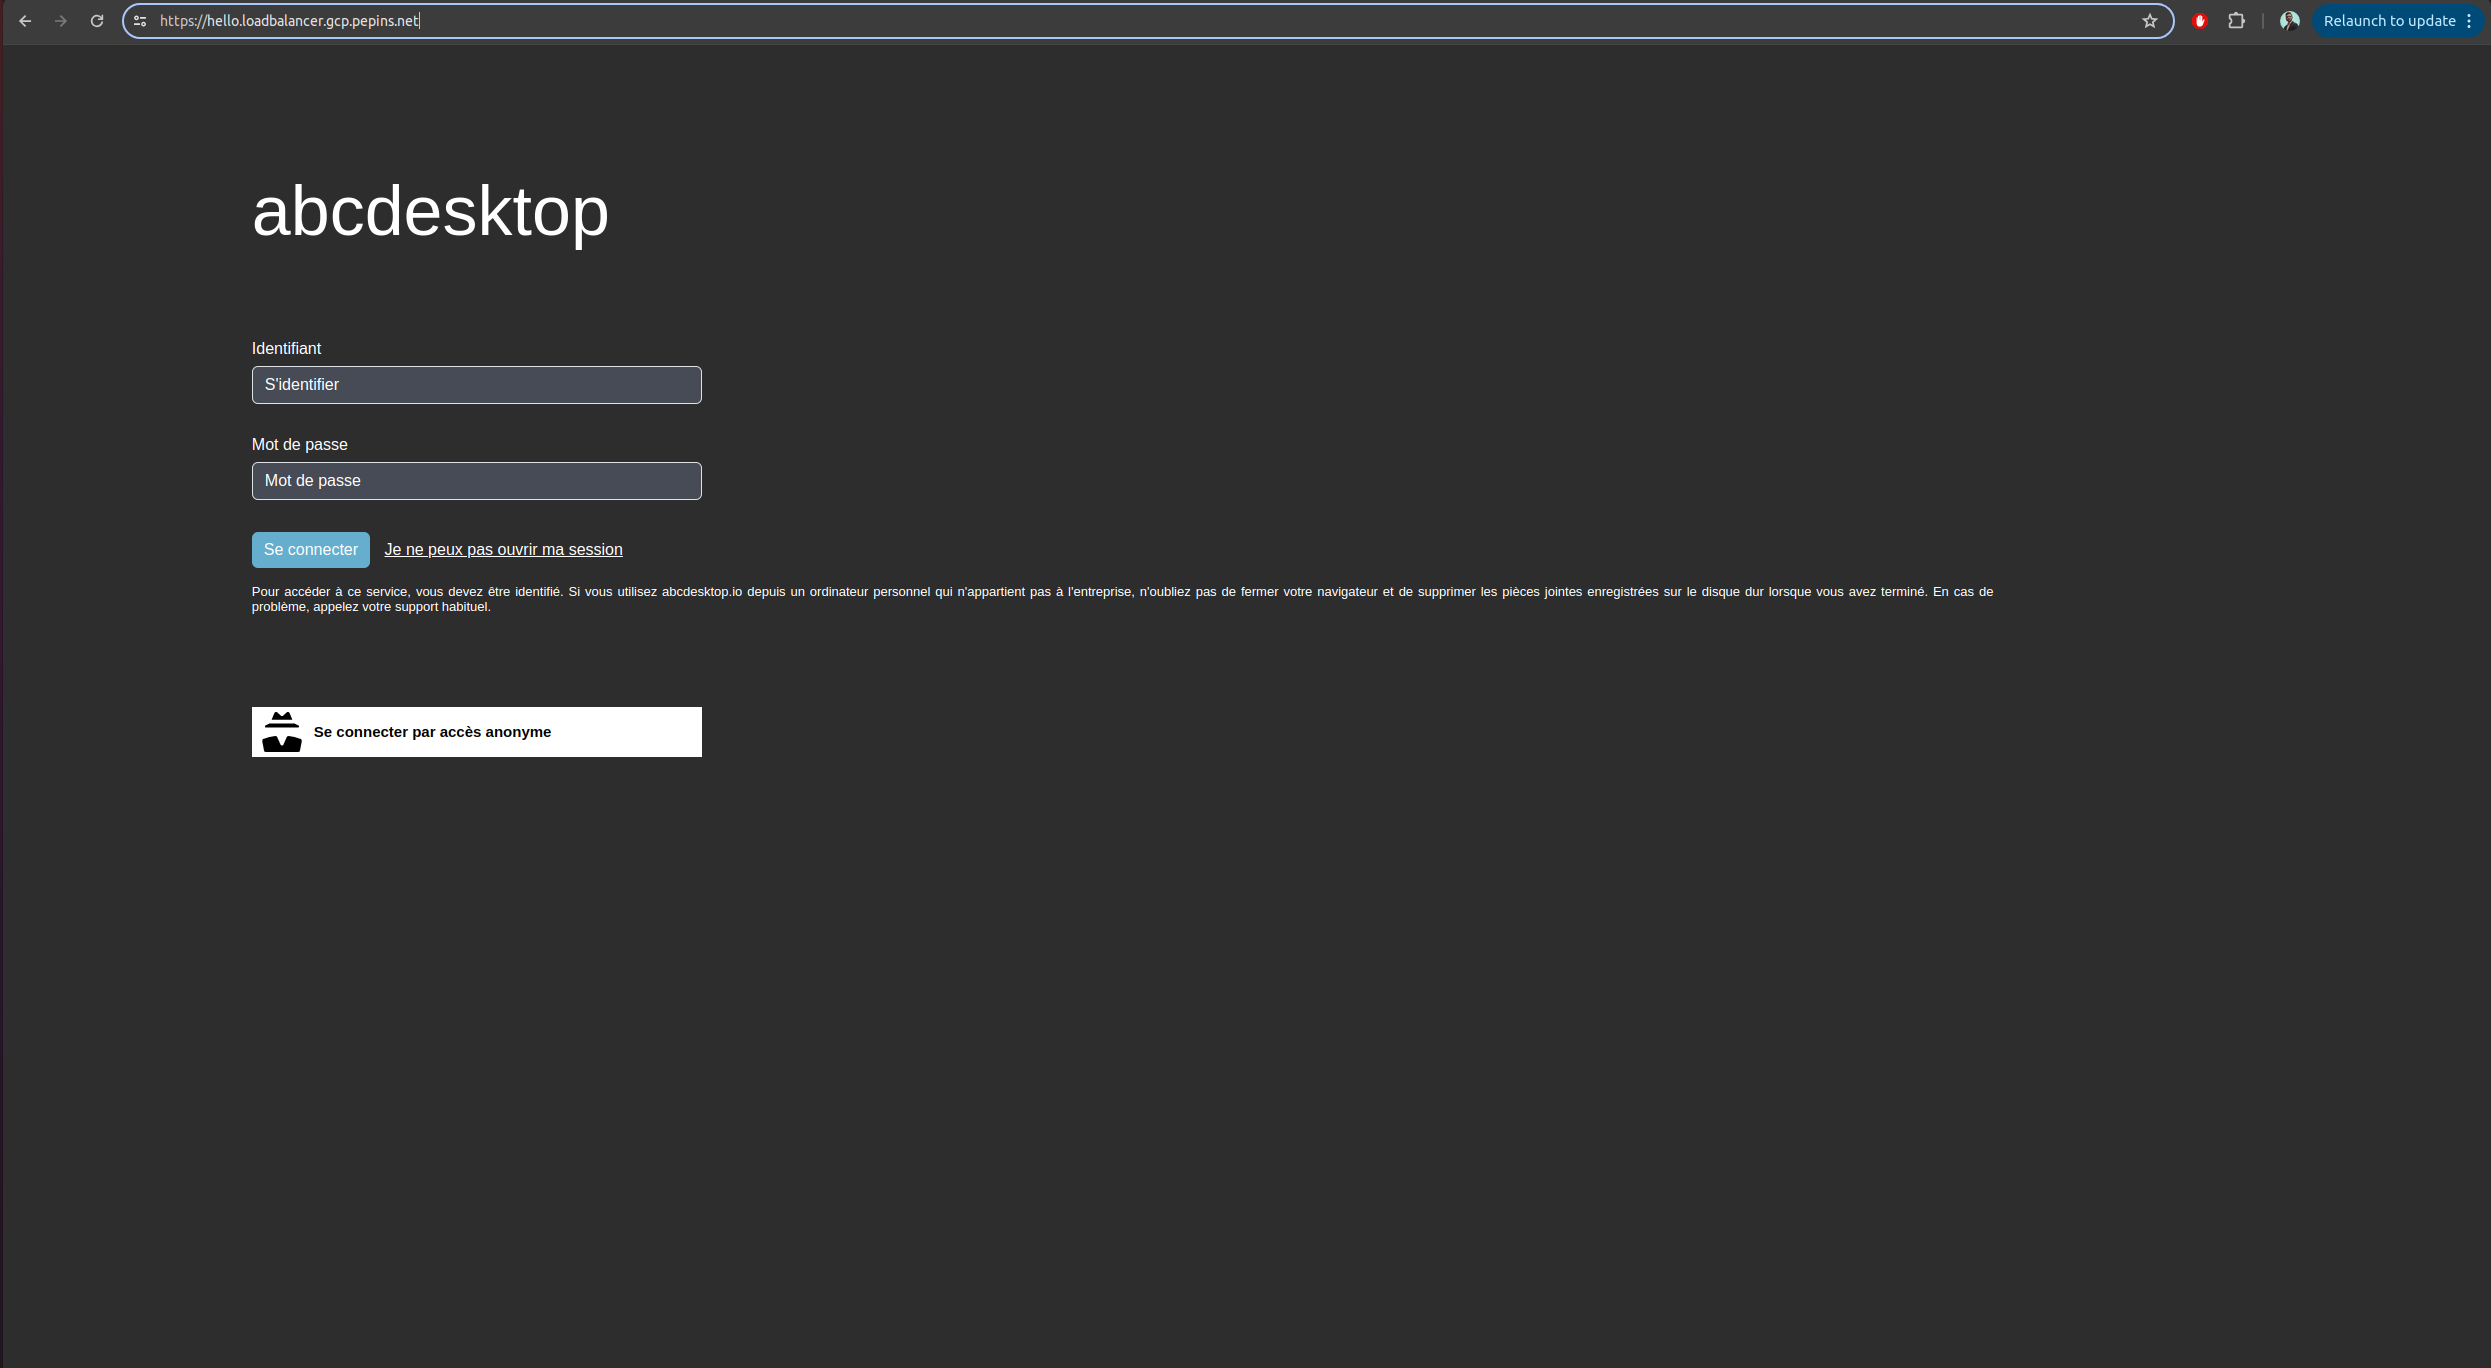
Reach your website using https protocol
You can now connect to your public abcdesktop website using the https protocol.
The connection is secured. You can inspect the certificate details.