Deploy abcdesktop on Google Cloud Provider (GCP) with Kubernetes
Requirements
- a GCP account
- an existing GCP project
kubectlgcloudcommand line interface gcloud cli
If you use
gcloudcommand line for your first time, rungcloud auth logincommand line to log with your GCP account.
Create a Kubernetes cluster using gcloud cli
First you will need to configure gcloud to set your GCP project as current project by running the following command.
gcloud config set project <YOUR_PROJECT_ID>
Now you can typrune the folllowing command to create your kubernetes cluster
gcloud container clusters create abcdesktop-gcp-1 --machine-type=custom-4-8192 --zone=us-central1-a --num-nodes=2
If you want more details about the command parameters go the gcloud container clusters create documentation
After a few minutes, you get a kubernetes cluster ready
Note: Your Pod address range (`--cluster-ipv4-cidr`) can accommodate at most 1008 node(s).
Creating cluster abcdesktop-gcp-1 in us-central1-a... Cluster is being health-checked (Kubernetes Control Plane is healthy)...done.
Created [https://container.googleapis.com/v1/projects/project-3104fb45-bad0-46b7-b2b/zones/us-central1-a/clusters/abcdesktop-gcp-1].
To inspect the contents of your cluster, go to: https://console.cloud.google.com/kubernetes/workload_/gcloud/us-central1-a/abcdesktop-gcp-1?project=project-3104fb45-bad0-46b7-b2b
kubeconfig entry generated for abcdesktop-gcp-1.
NAME              LOCATION       MASTER_VERSION      MASTER_IP      MACHINE_TYPE   NODE_VERSION        NUM_NODES  STATUS   STACK_TYPE
abcdesktop-gcp-1  us-central1-a  1.33.5-gke.1308000  34.172.78.248  custom-4-8192  1.33.5-gke.1308000  2          RUNNING  IPV4
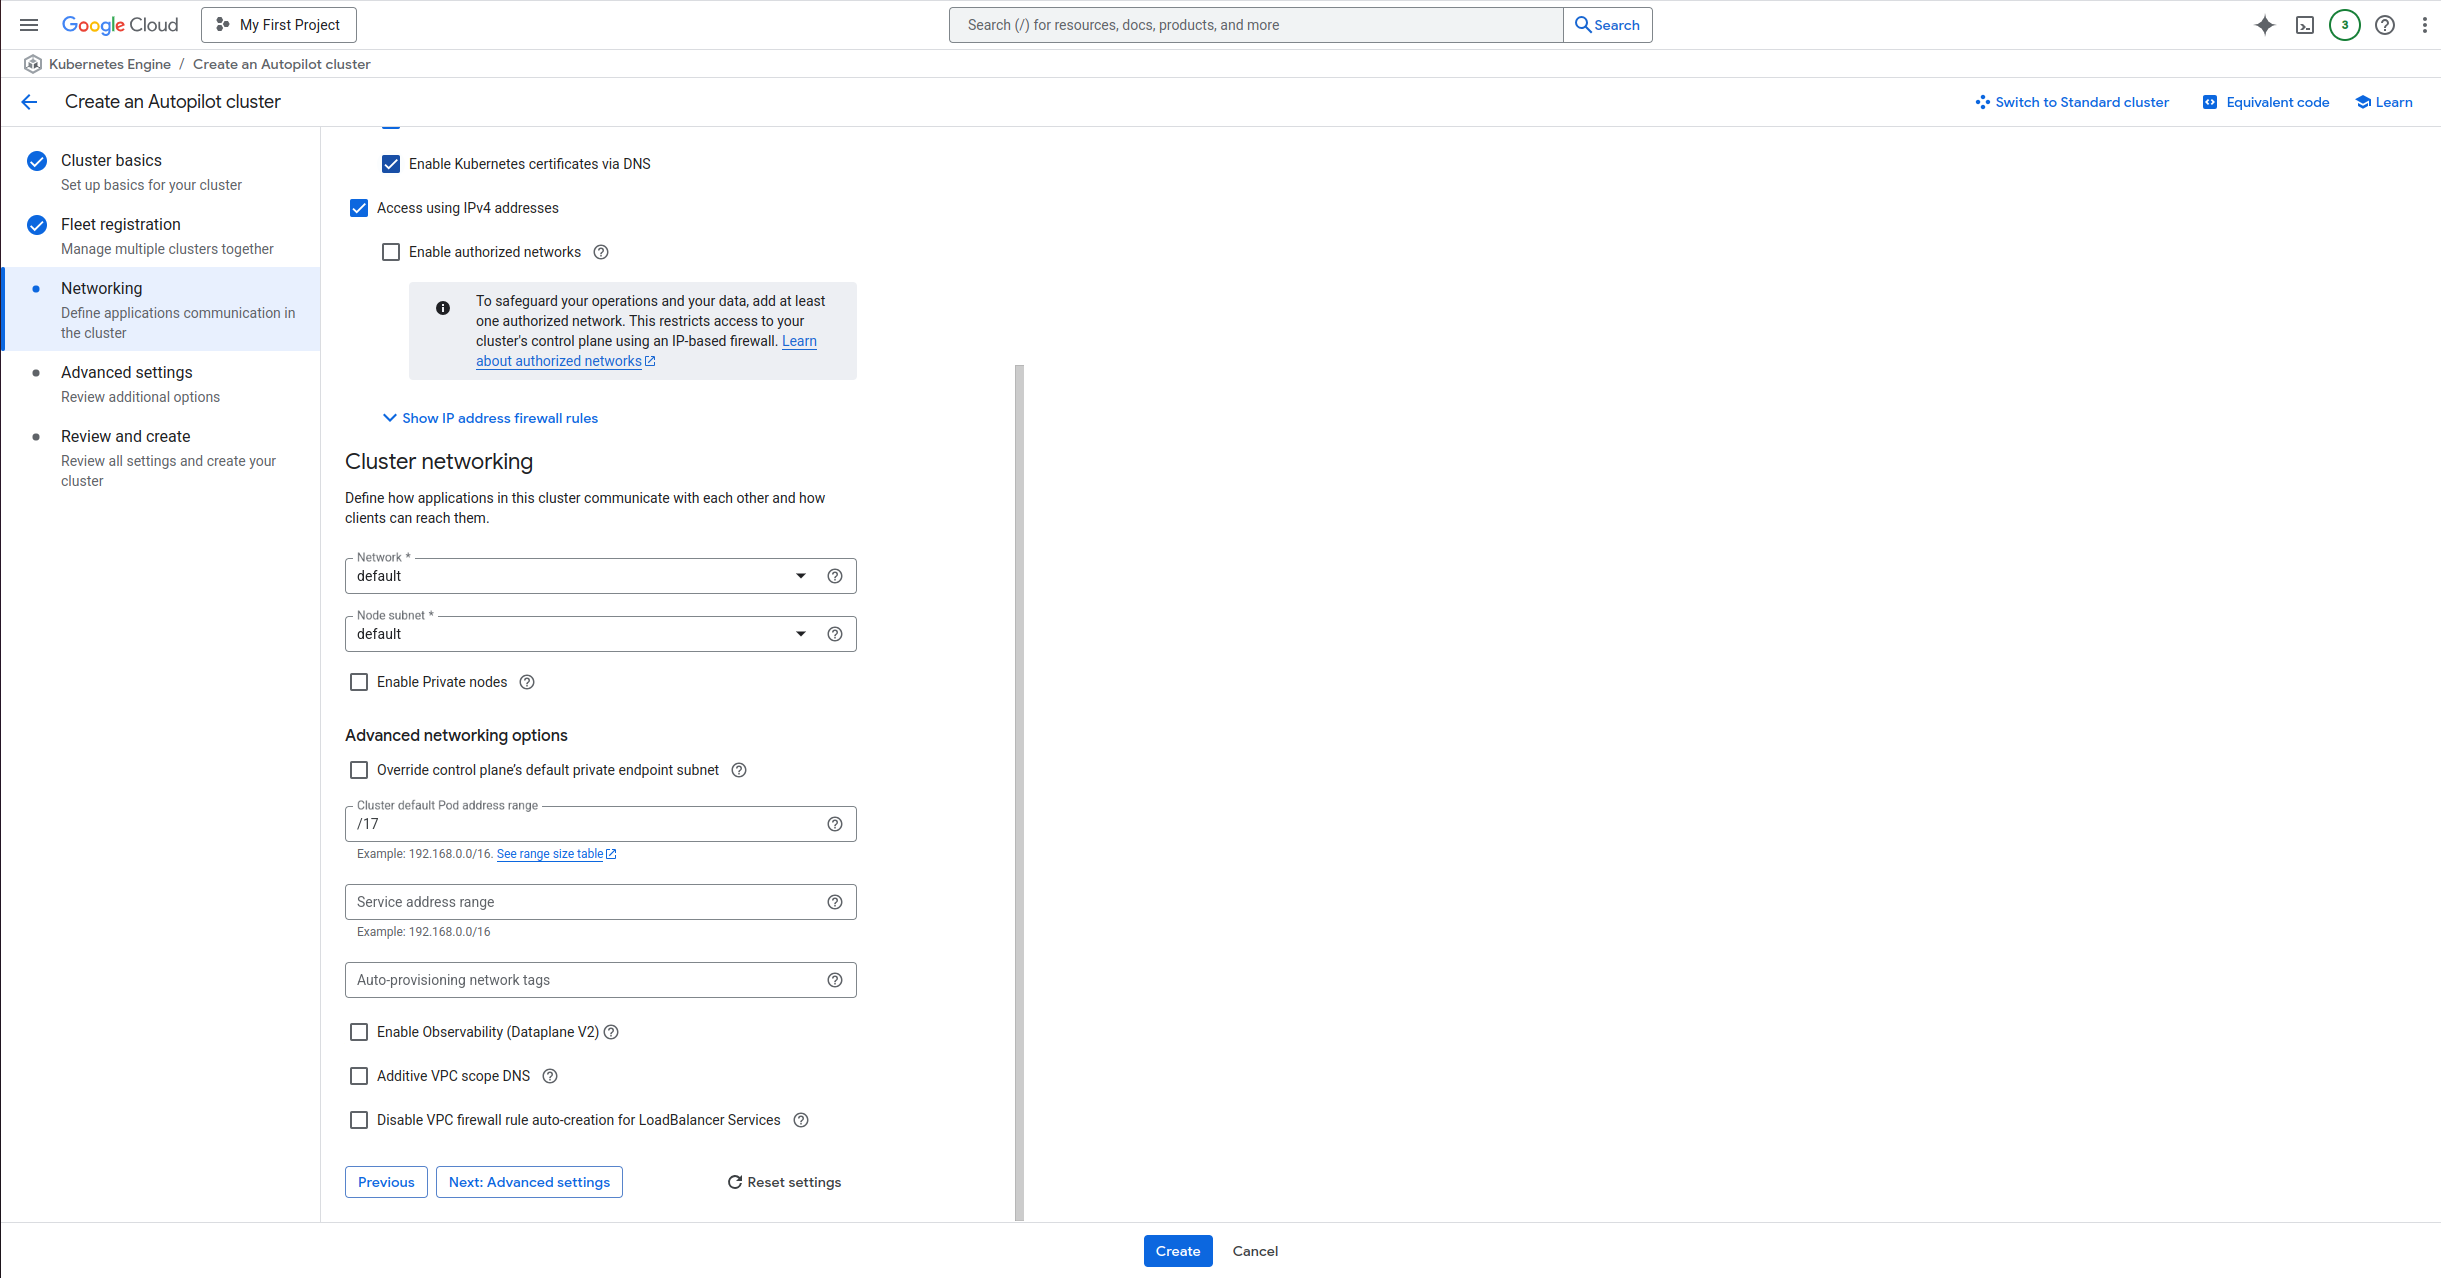
Create a Kubernetes cluster using Google Cloud Console
If you don't have a running kubernetes cluster, connect to your GCP console interface and search for Create a Kubernetes Cluster.
You will arrive on the GCP Kubernetes cluster application main page, then click on Create cluster and follow the step as shown below.

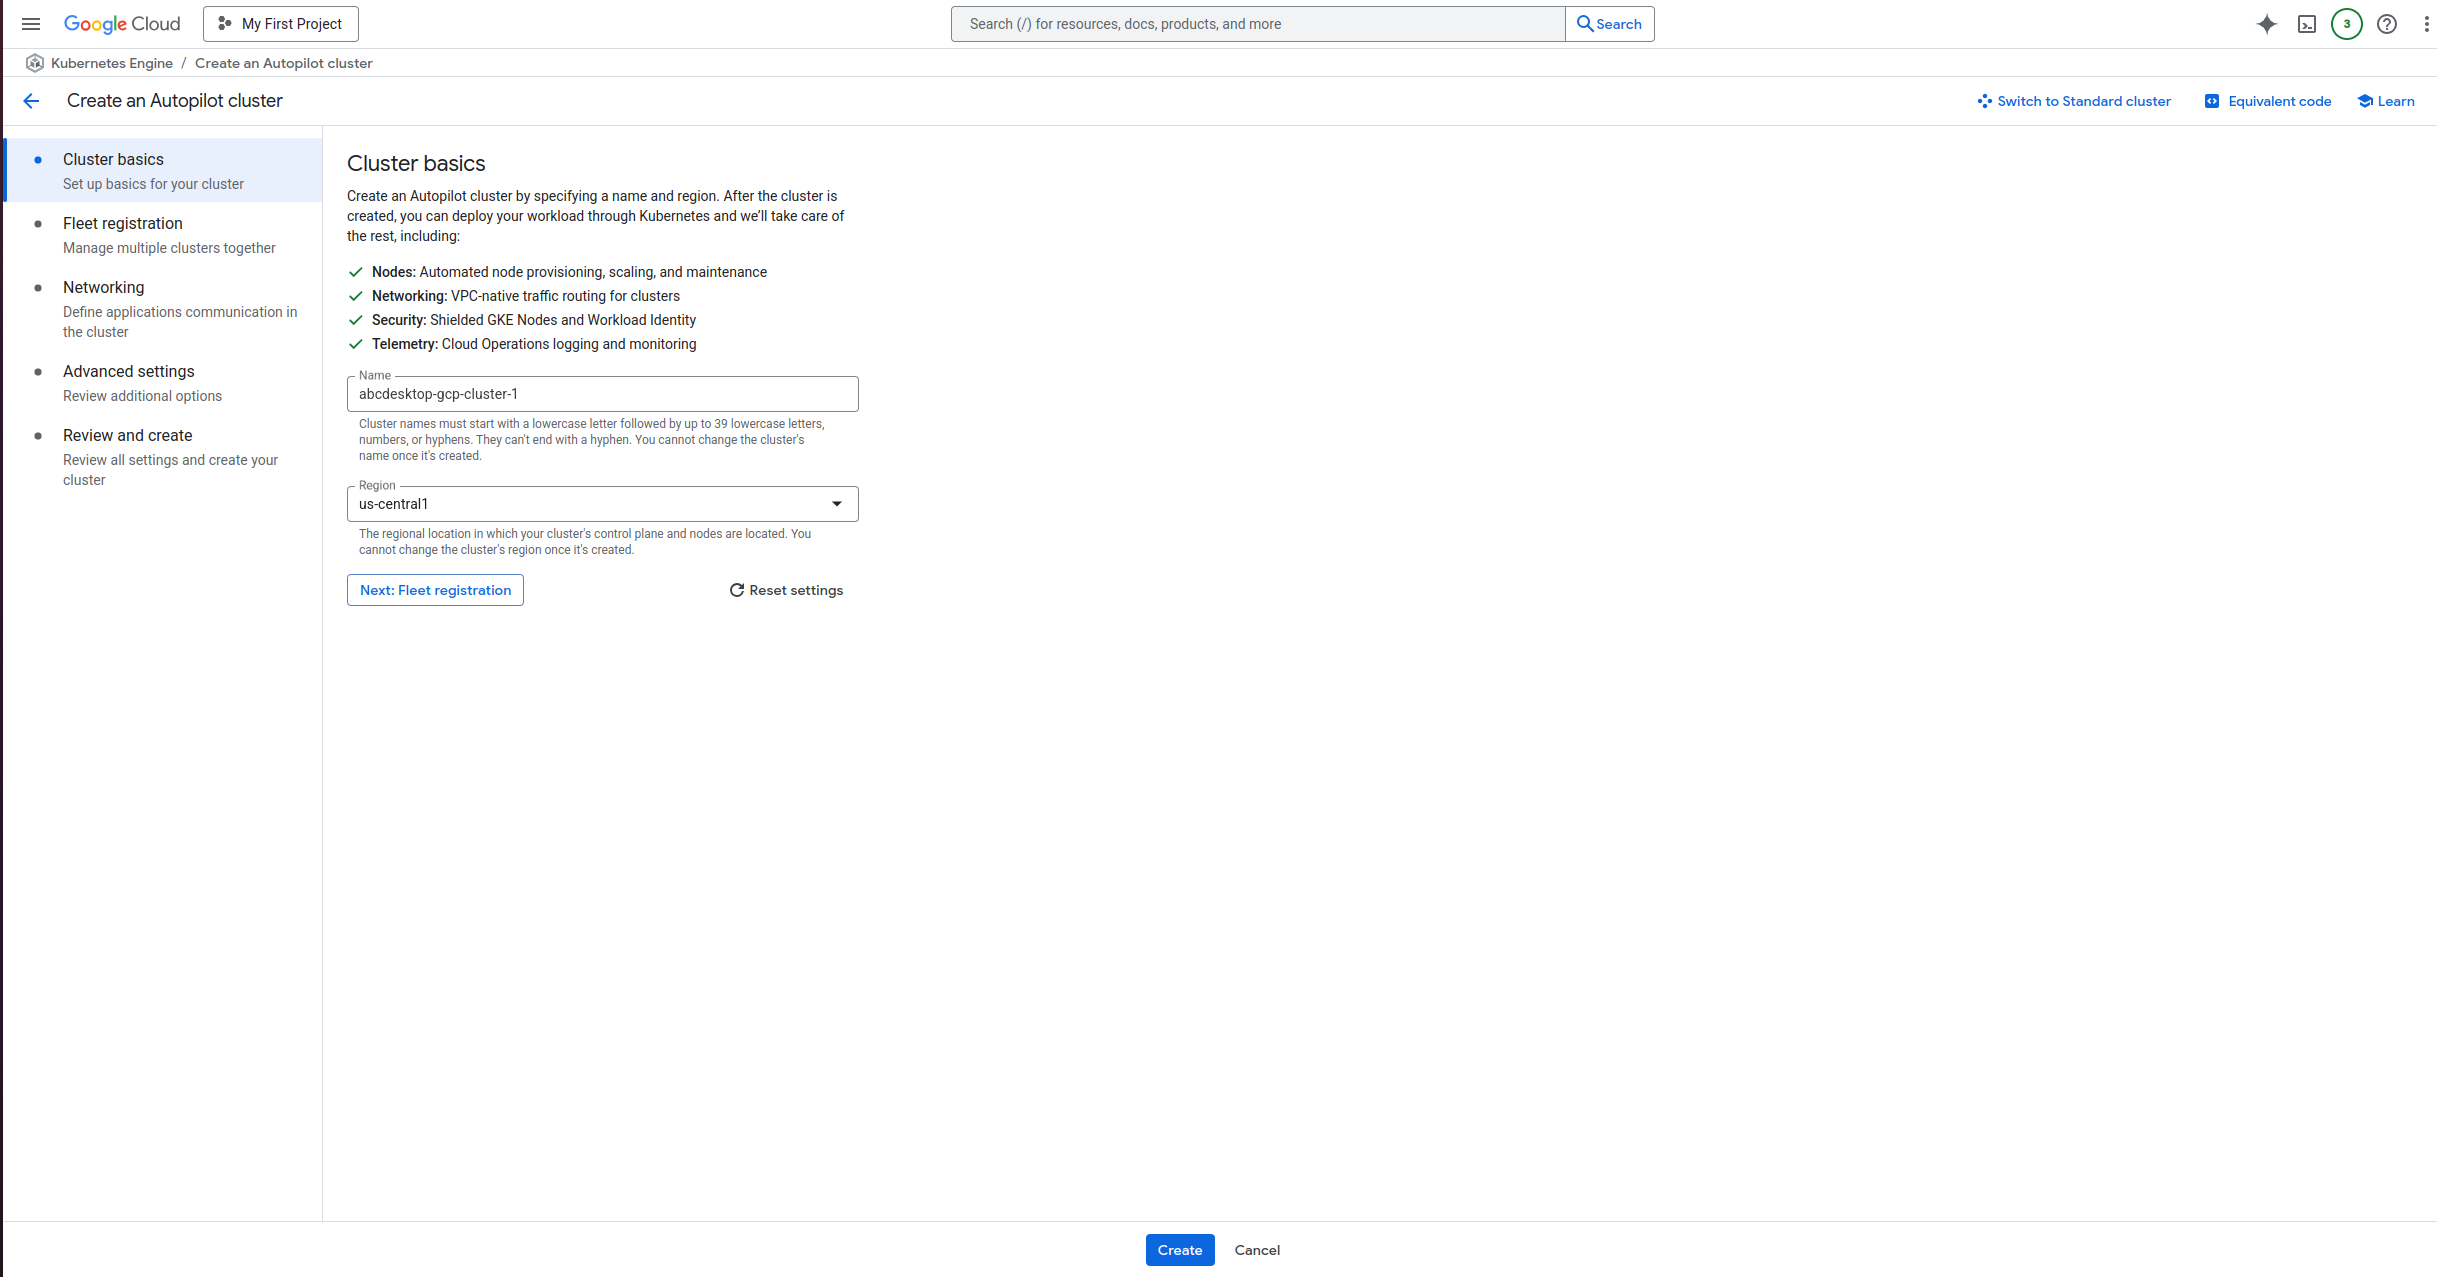

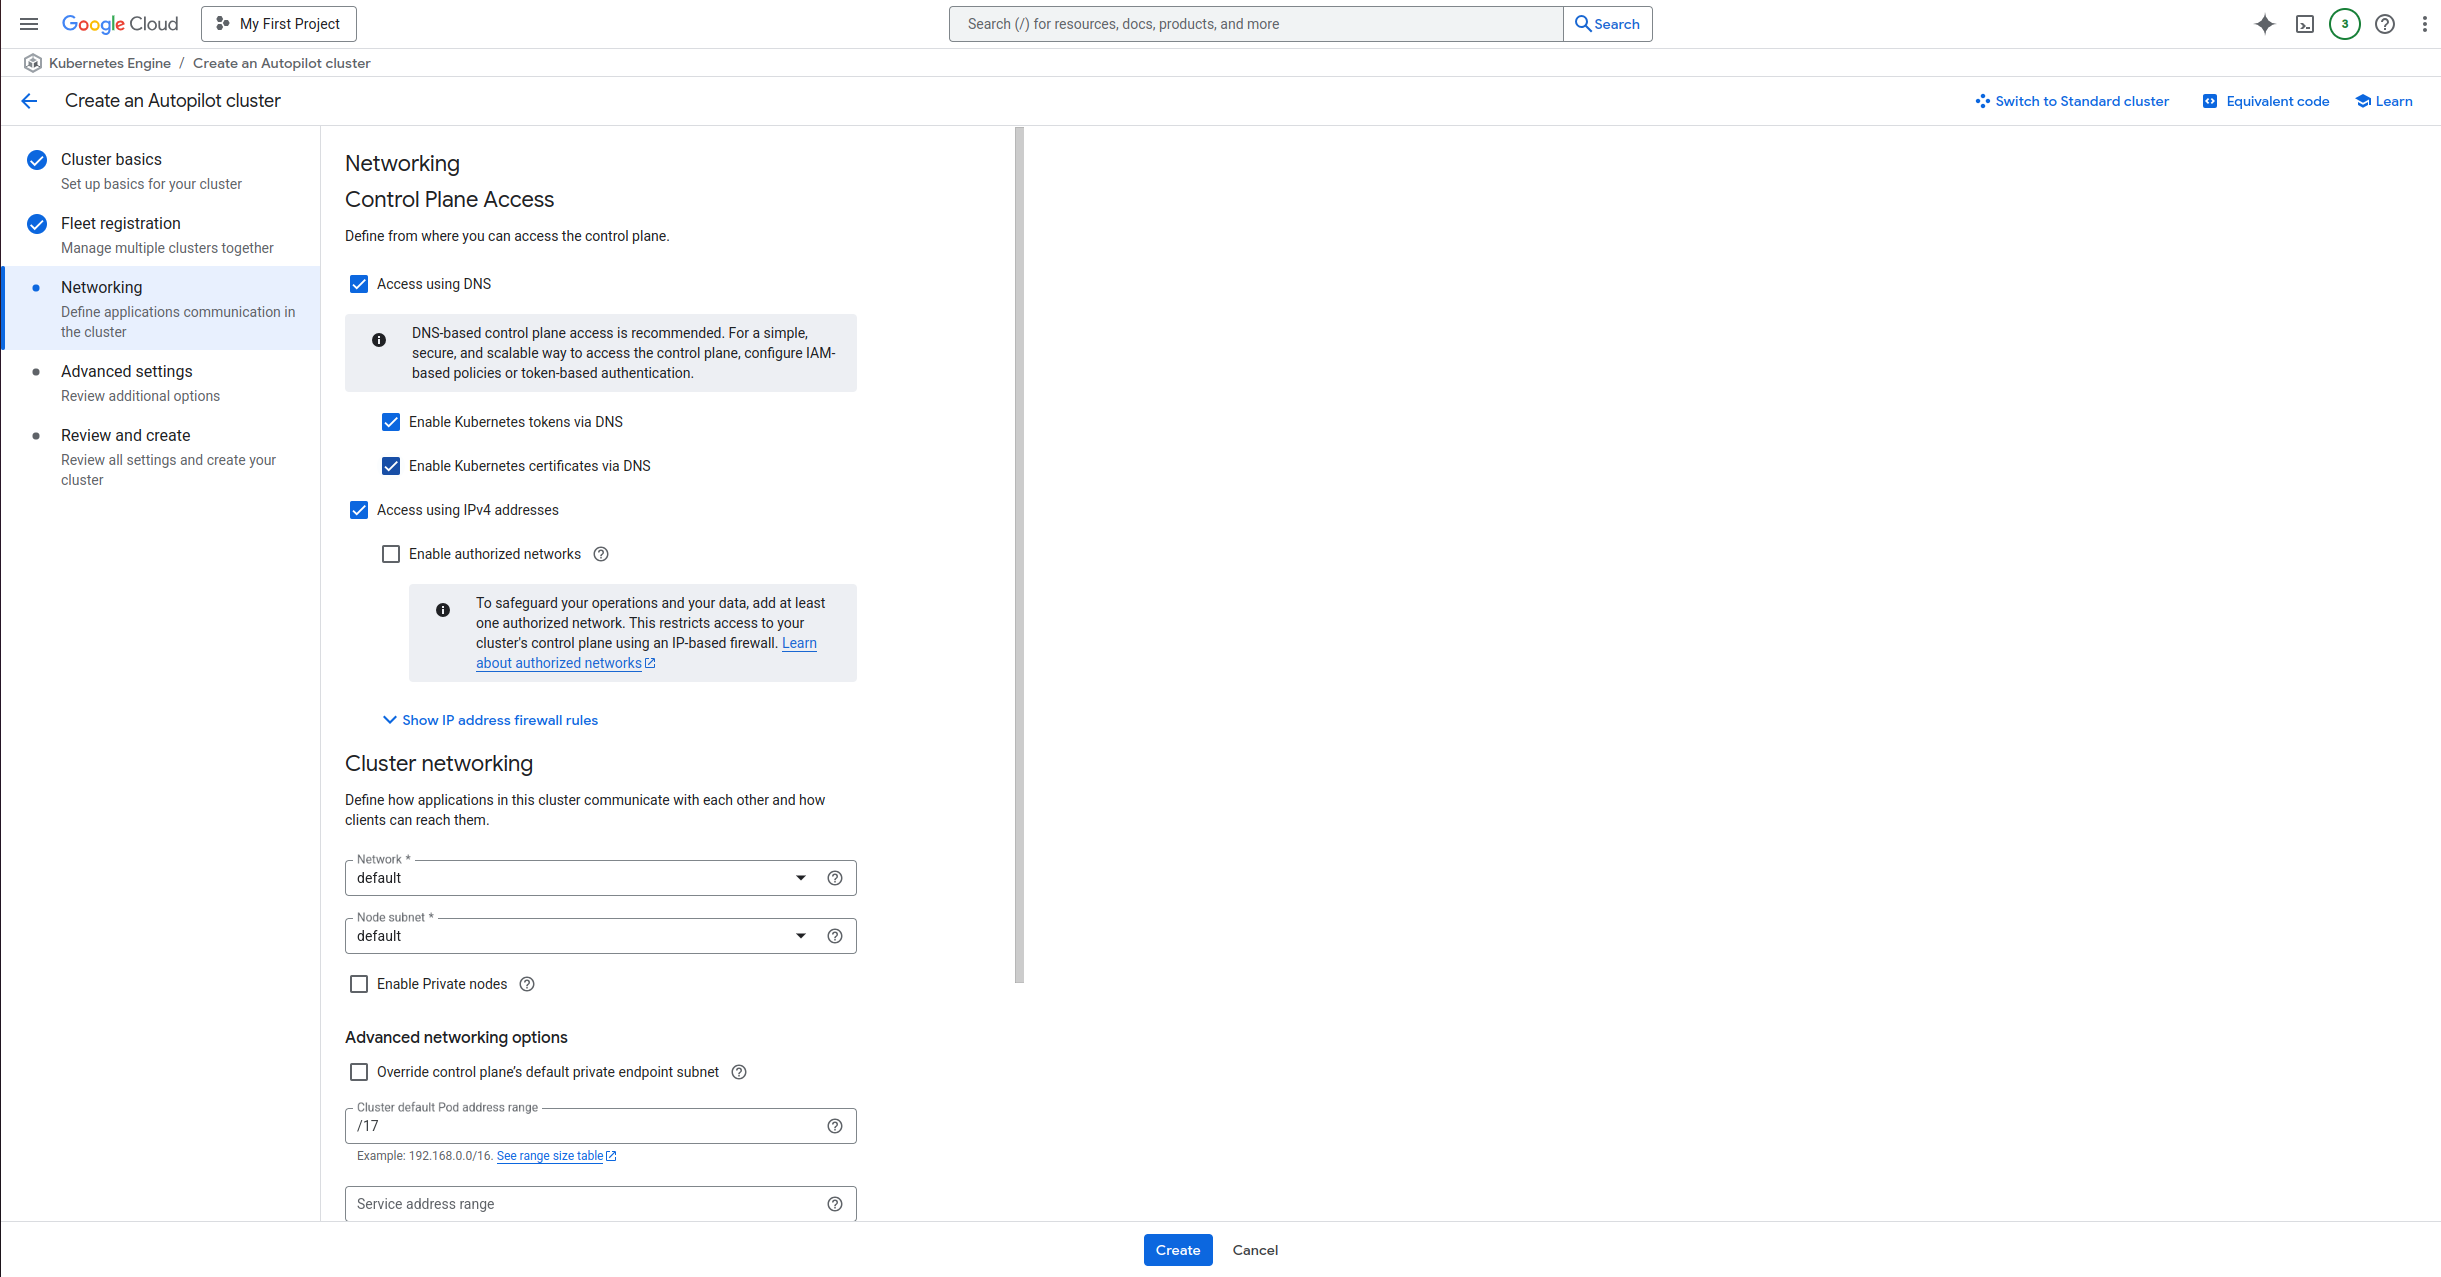
Now wait a few minutes for your cluster to be ready.
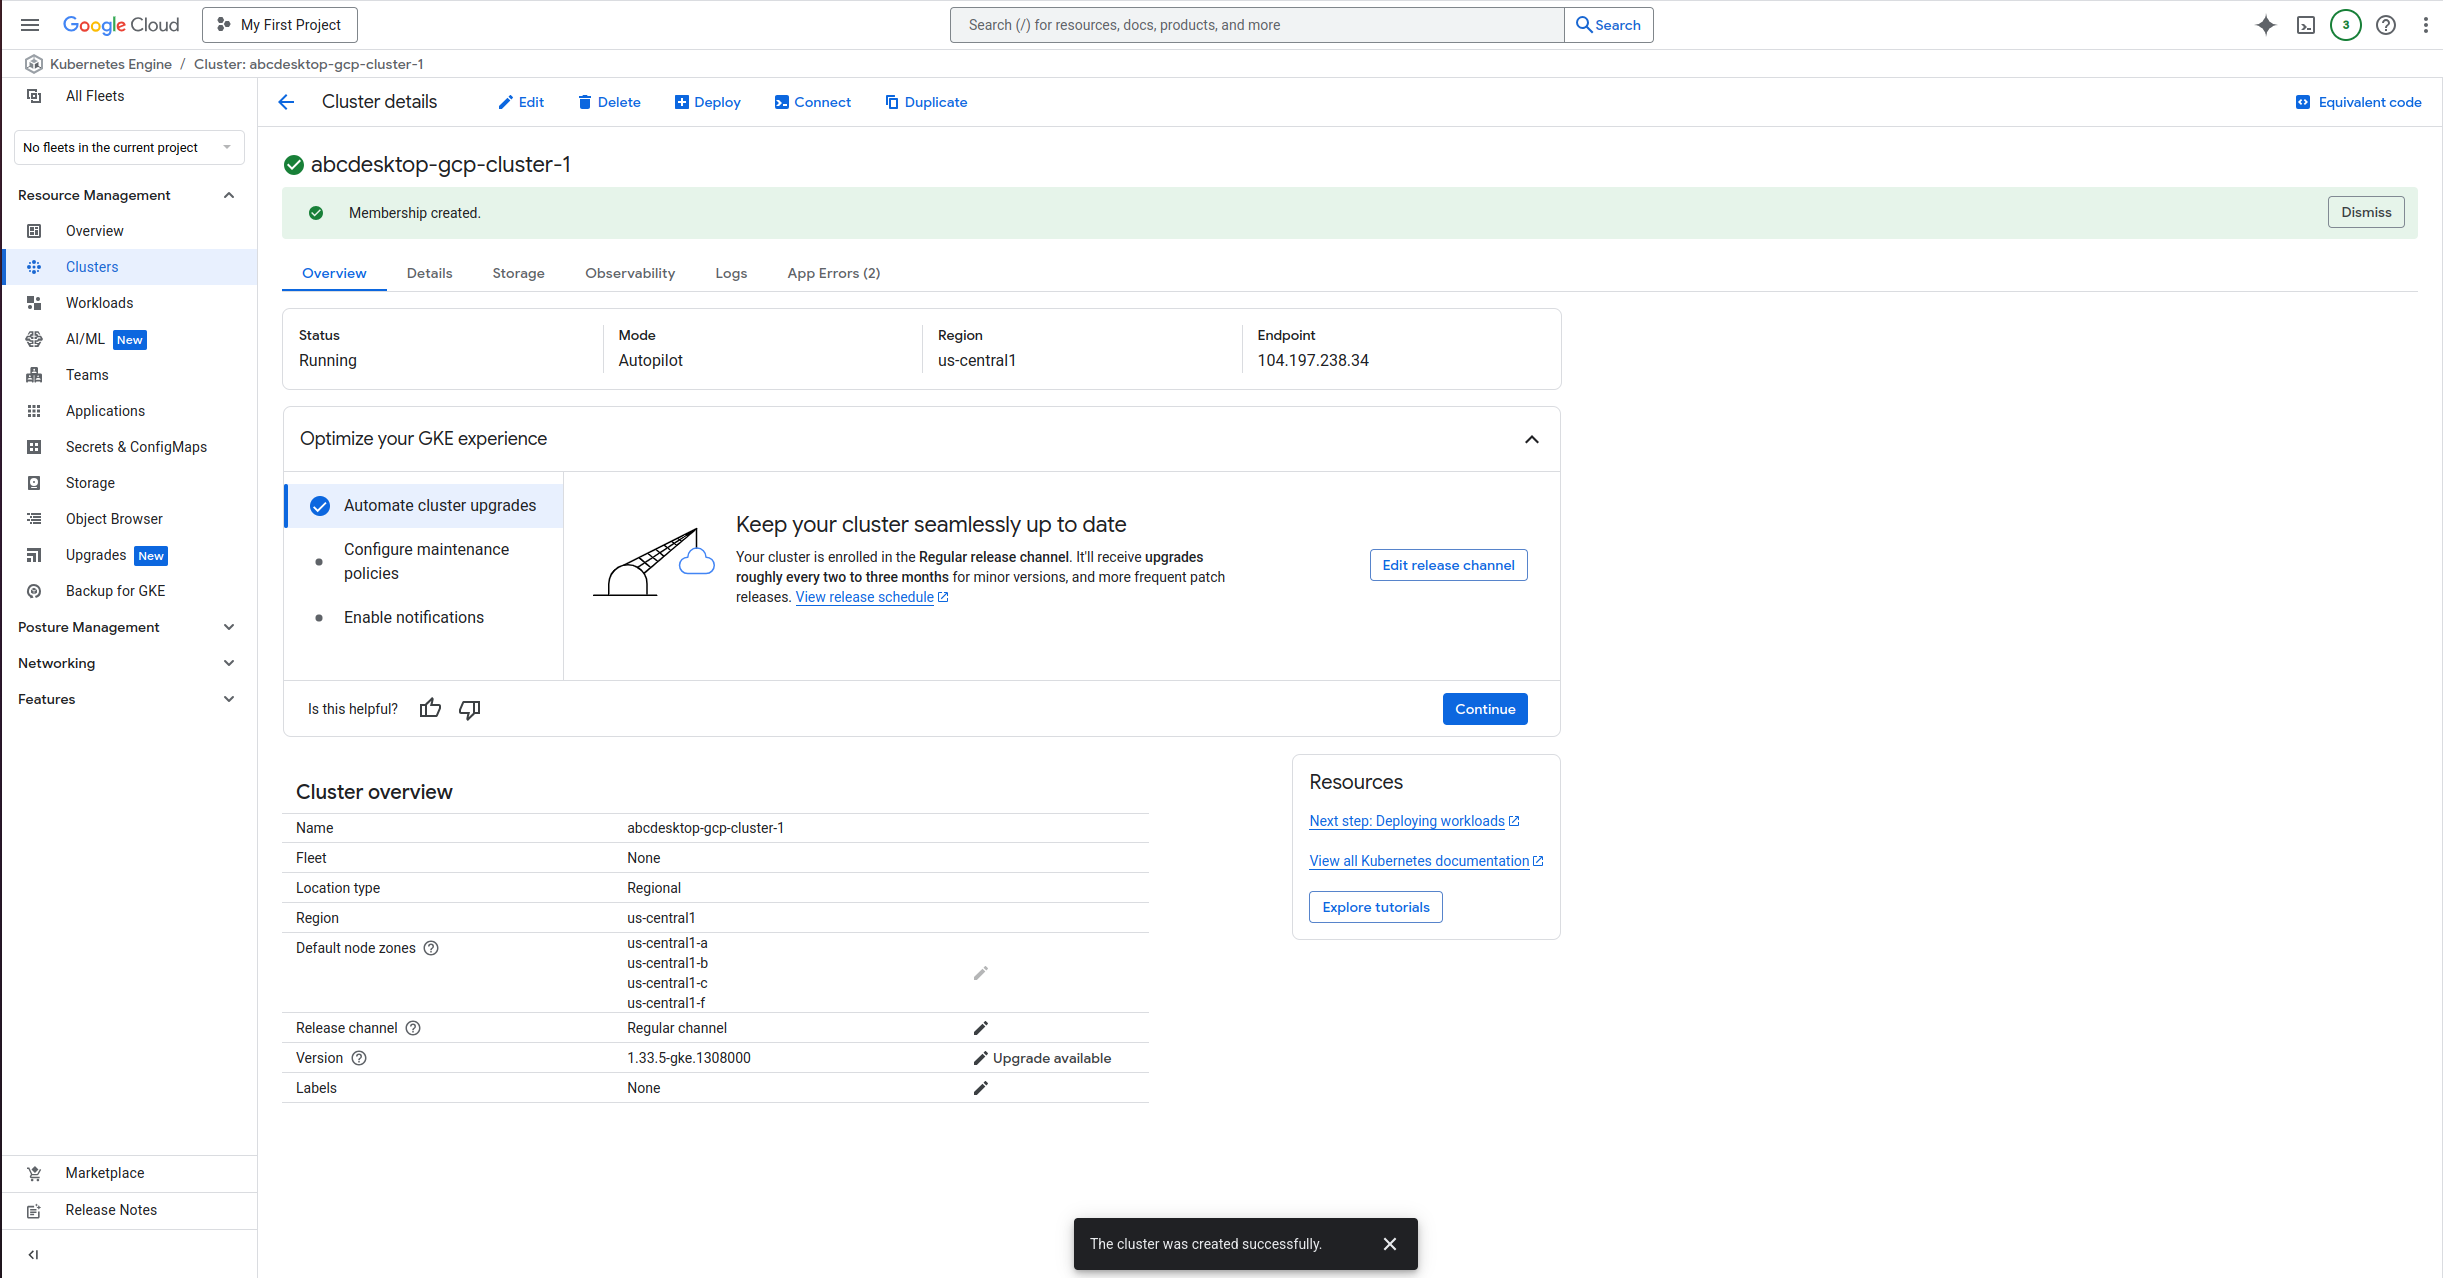
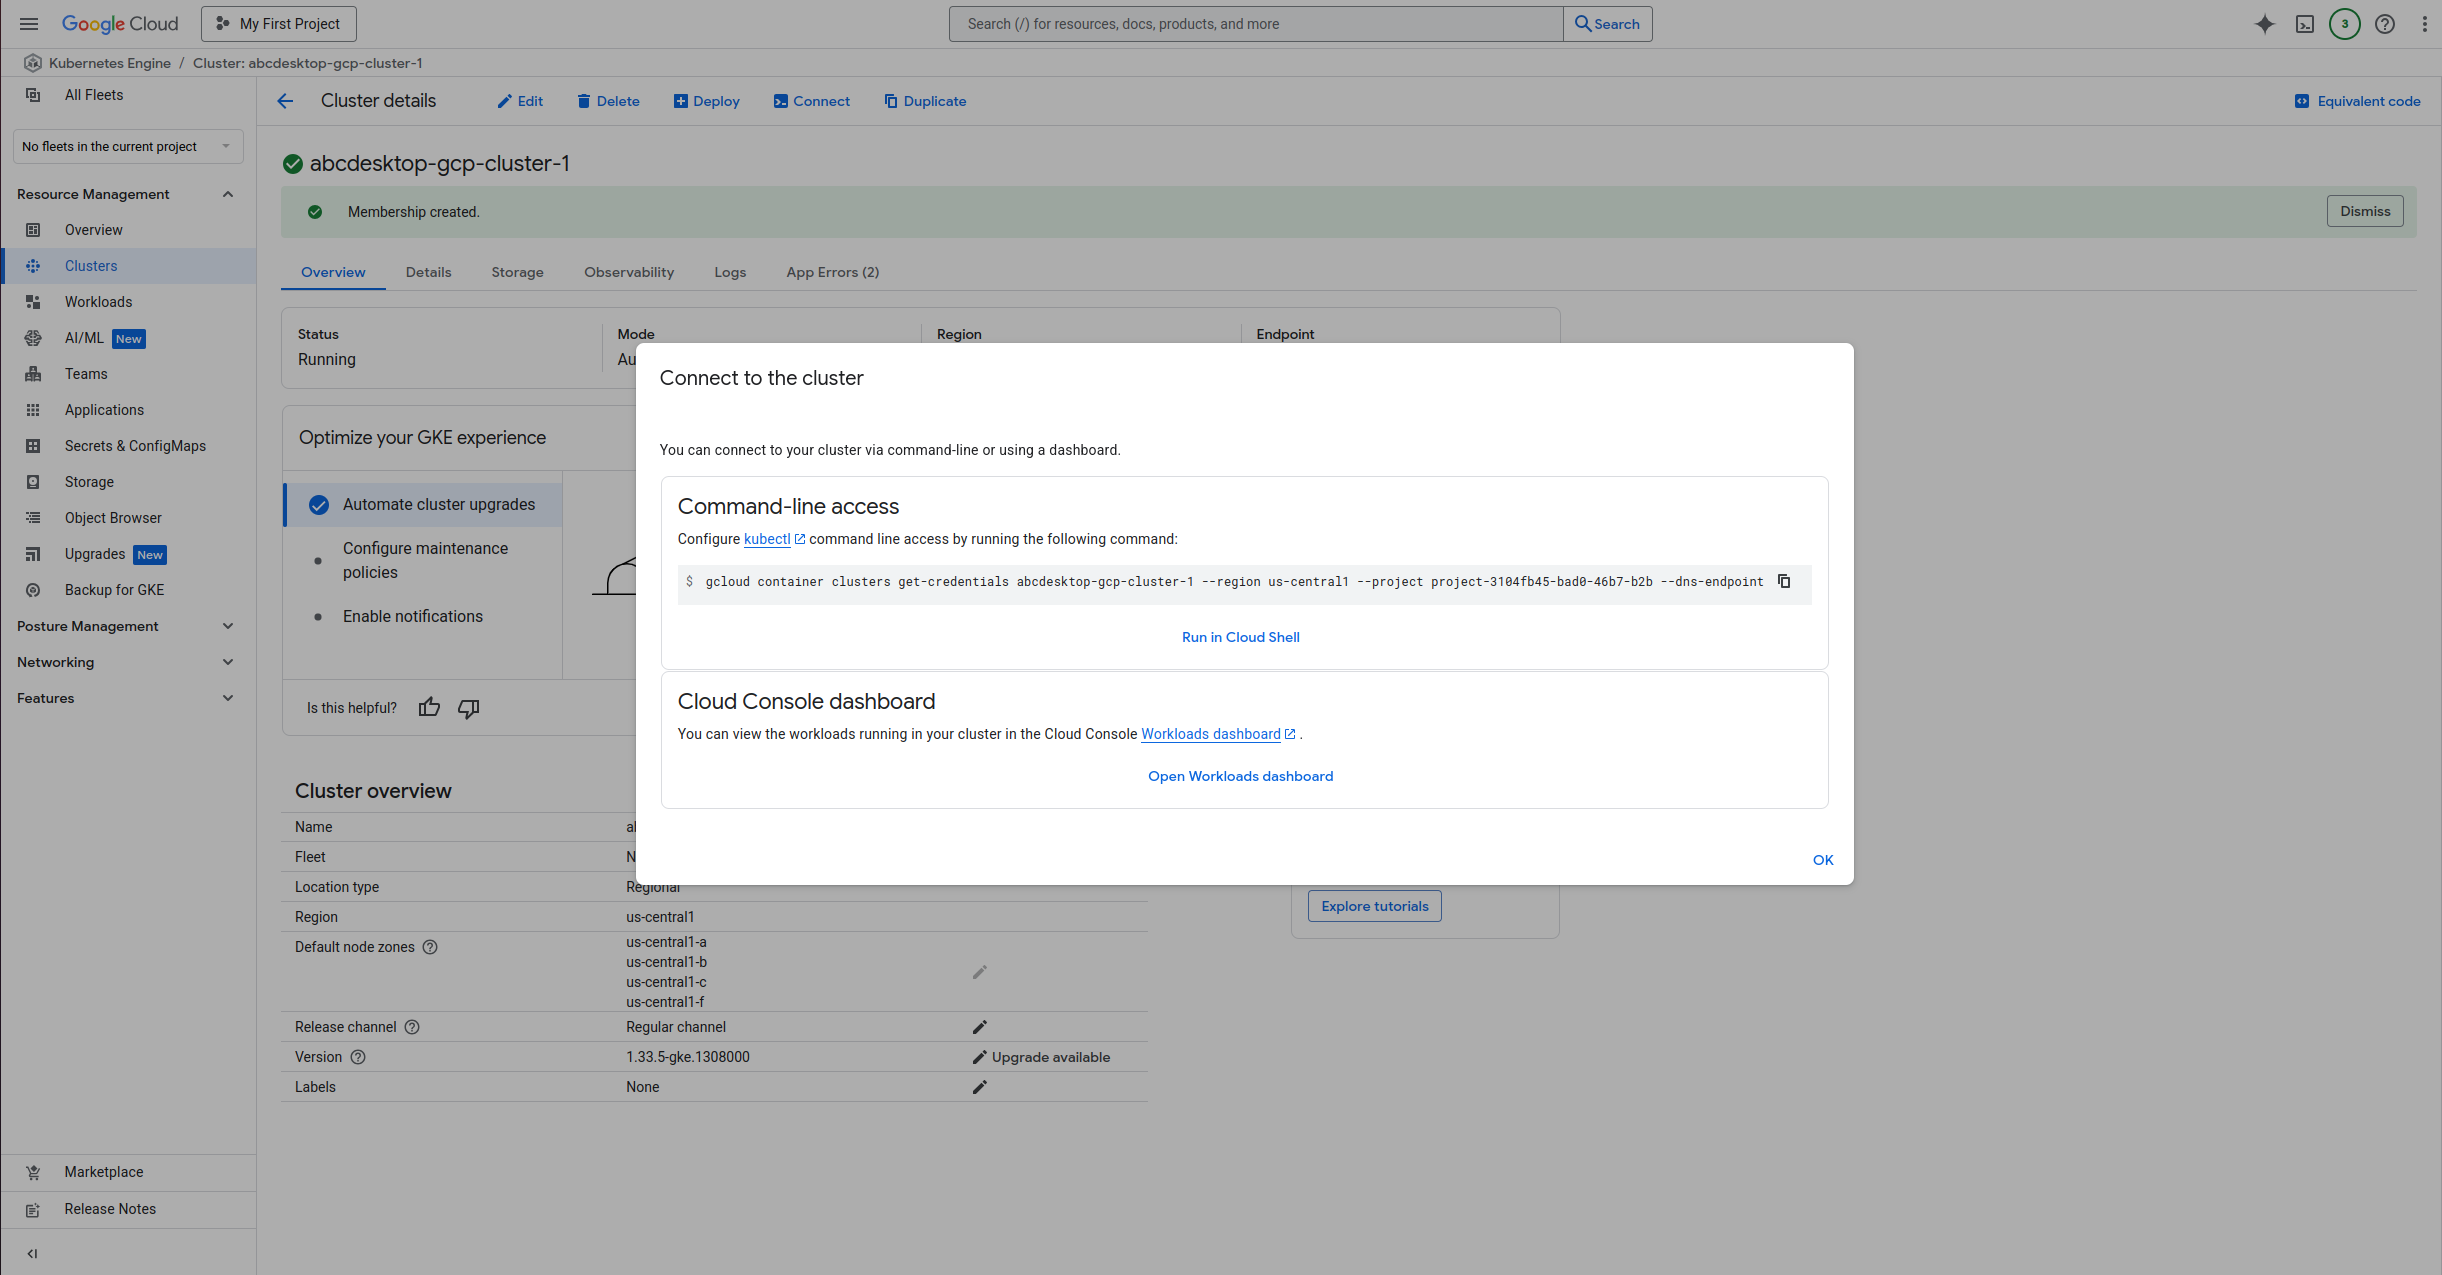
Once your cluster ready, you will need to link the cluster to your local machine in order to drive it. To do so, you will first need to install the gke-gcloud-auth-plugin by running the following command
gcloud components install gke-gcloud-auth-plugin
Then click on the Connect button and paste the given command into your terminal
Run the abcdesktop install script
Download and install the latest release automatically
curl -sL https://raw.githubusercontent.com/abcdesktopio/conf/main/kubernetes/install-4.3.sh | bash
To get more details about the install process, please read the Setup guide
Connect to your abcdesktop service
By default install script is listening on a free tcp port :30443 and is using a kubectl port-forward command line to reach http web service :80
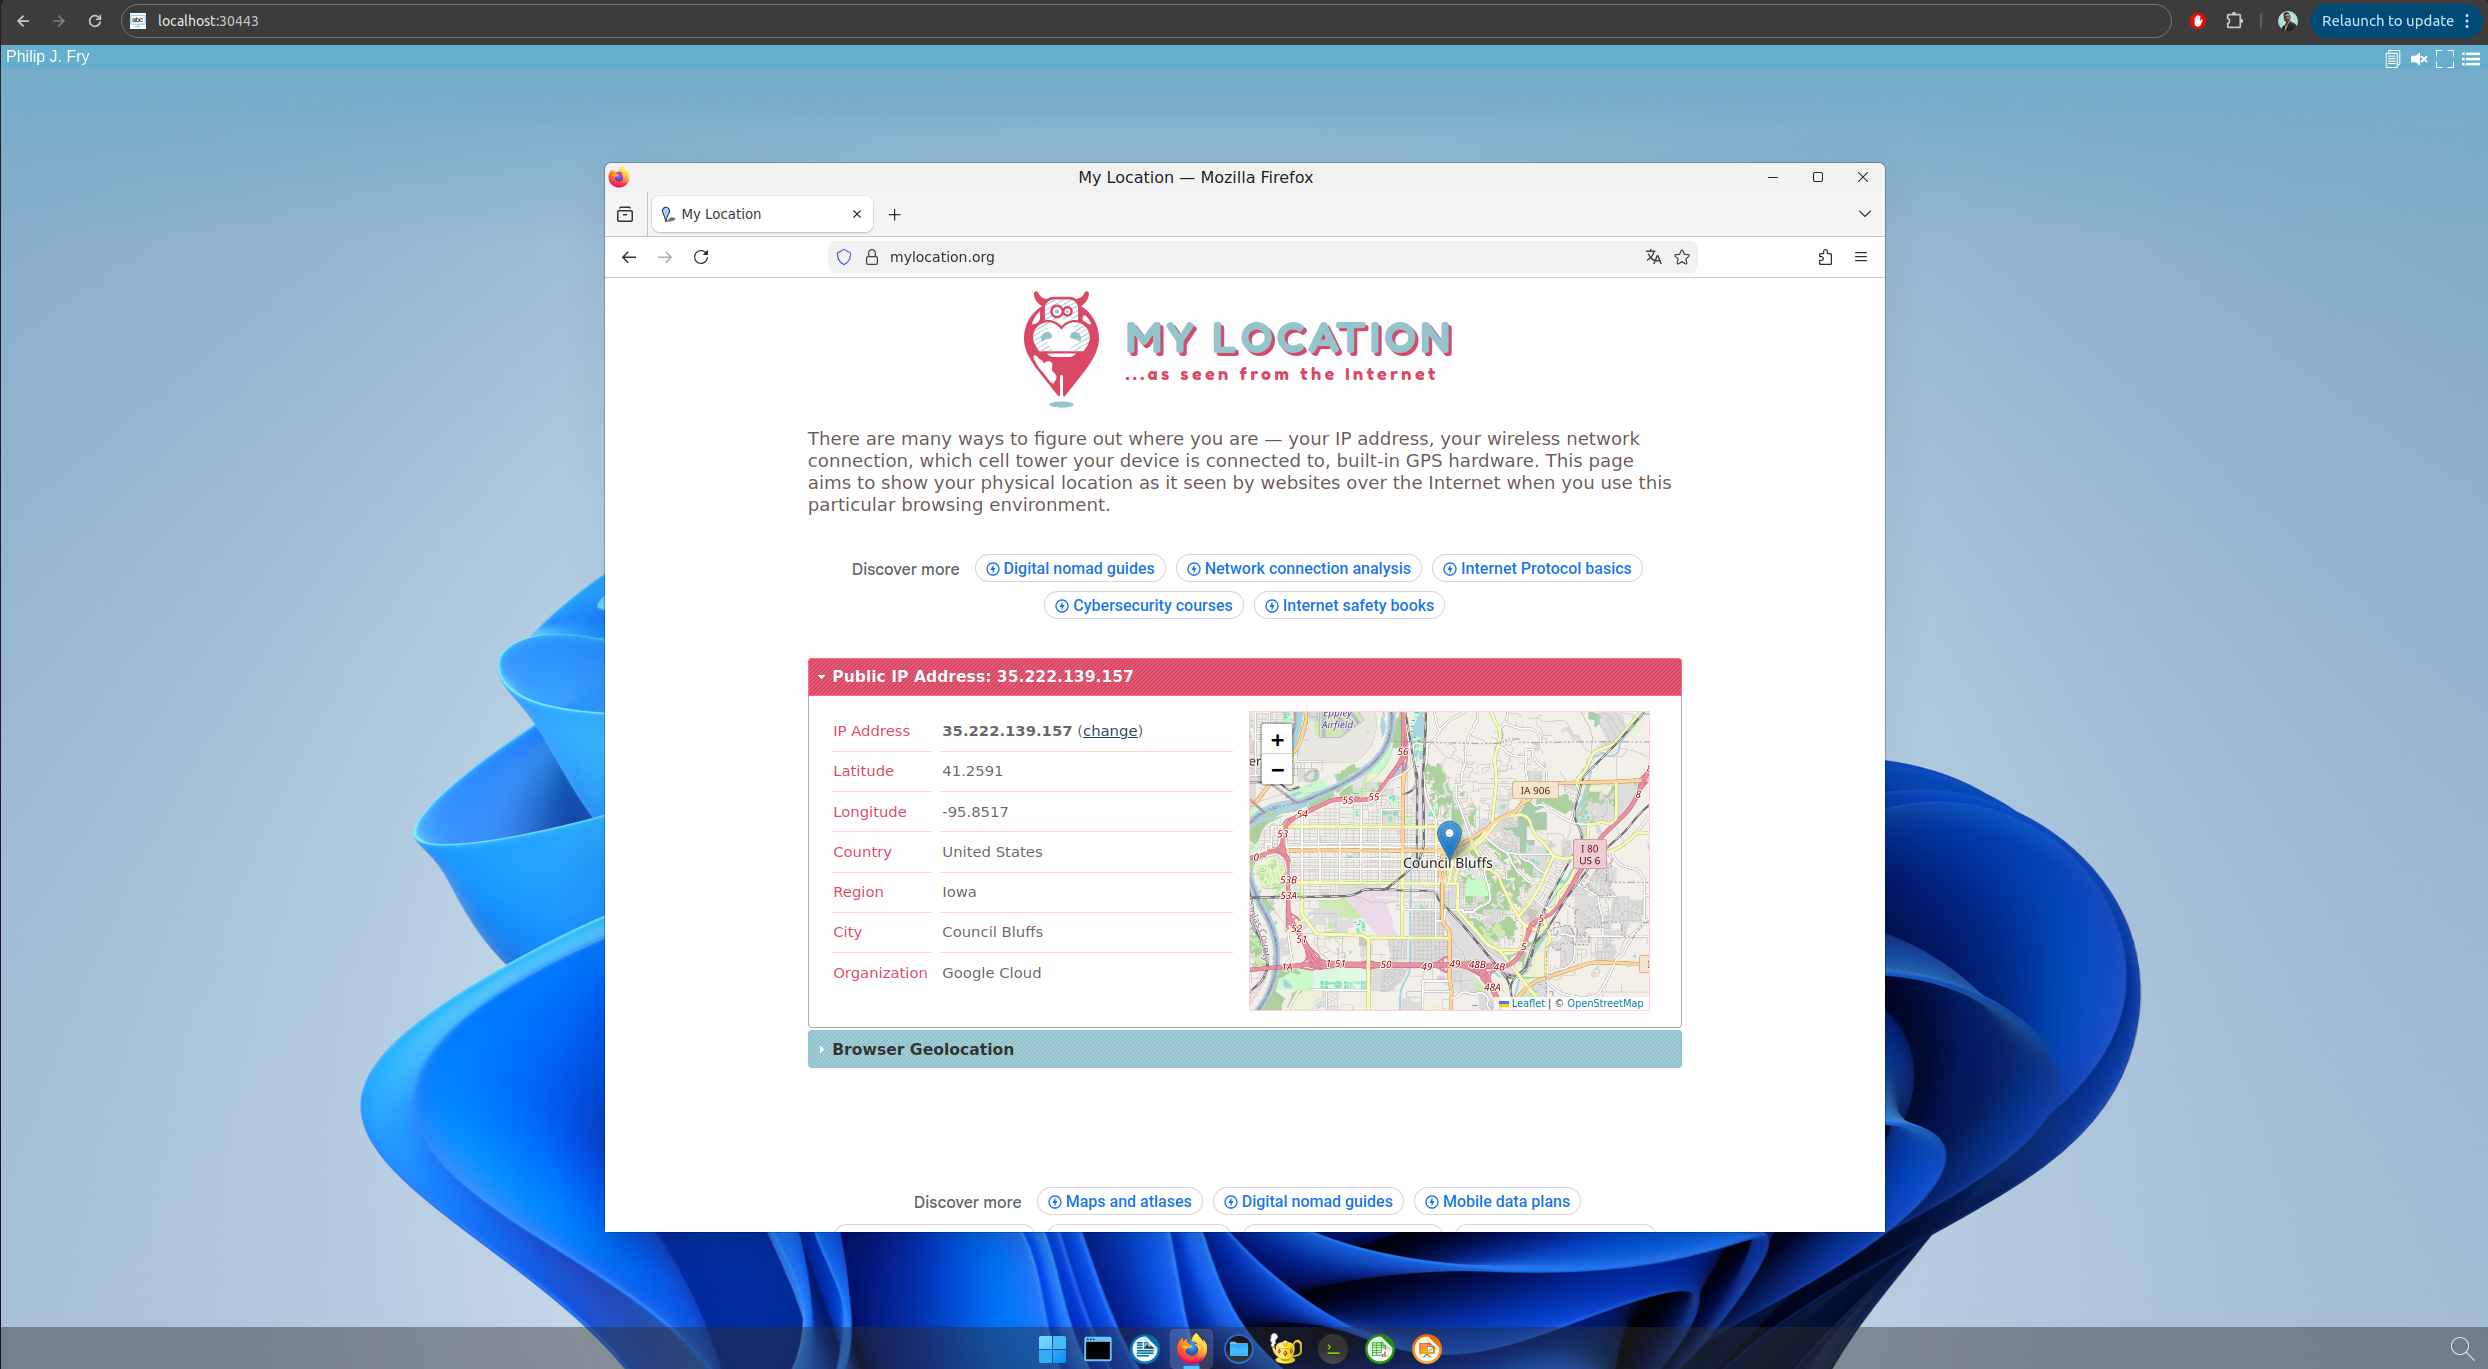
Open your web browser http://locahost:30443
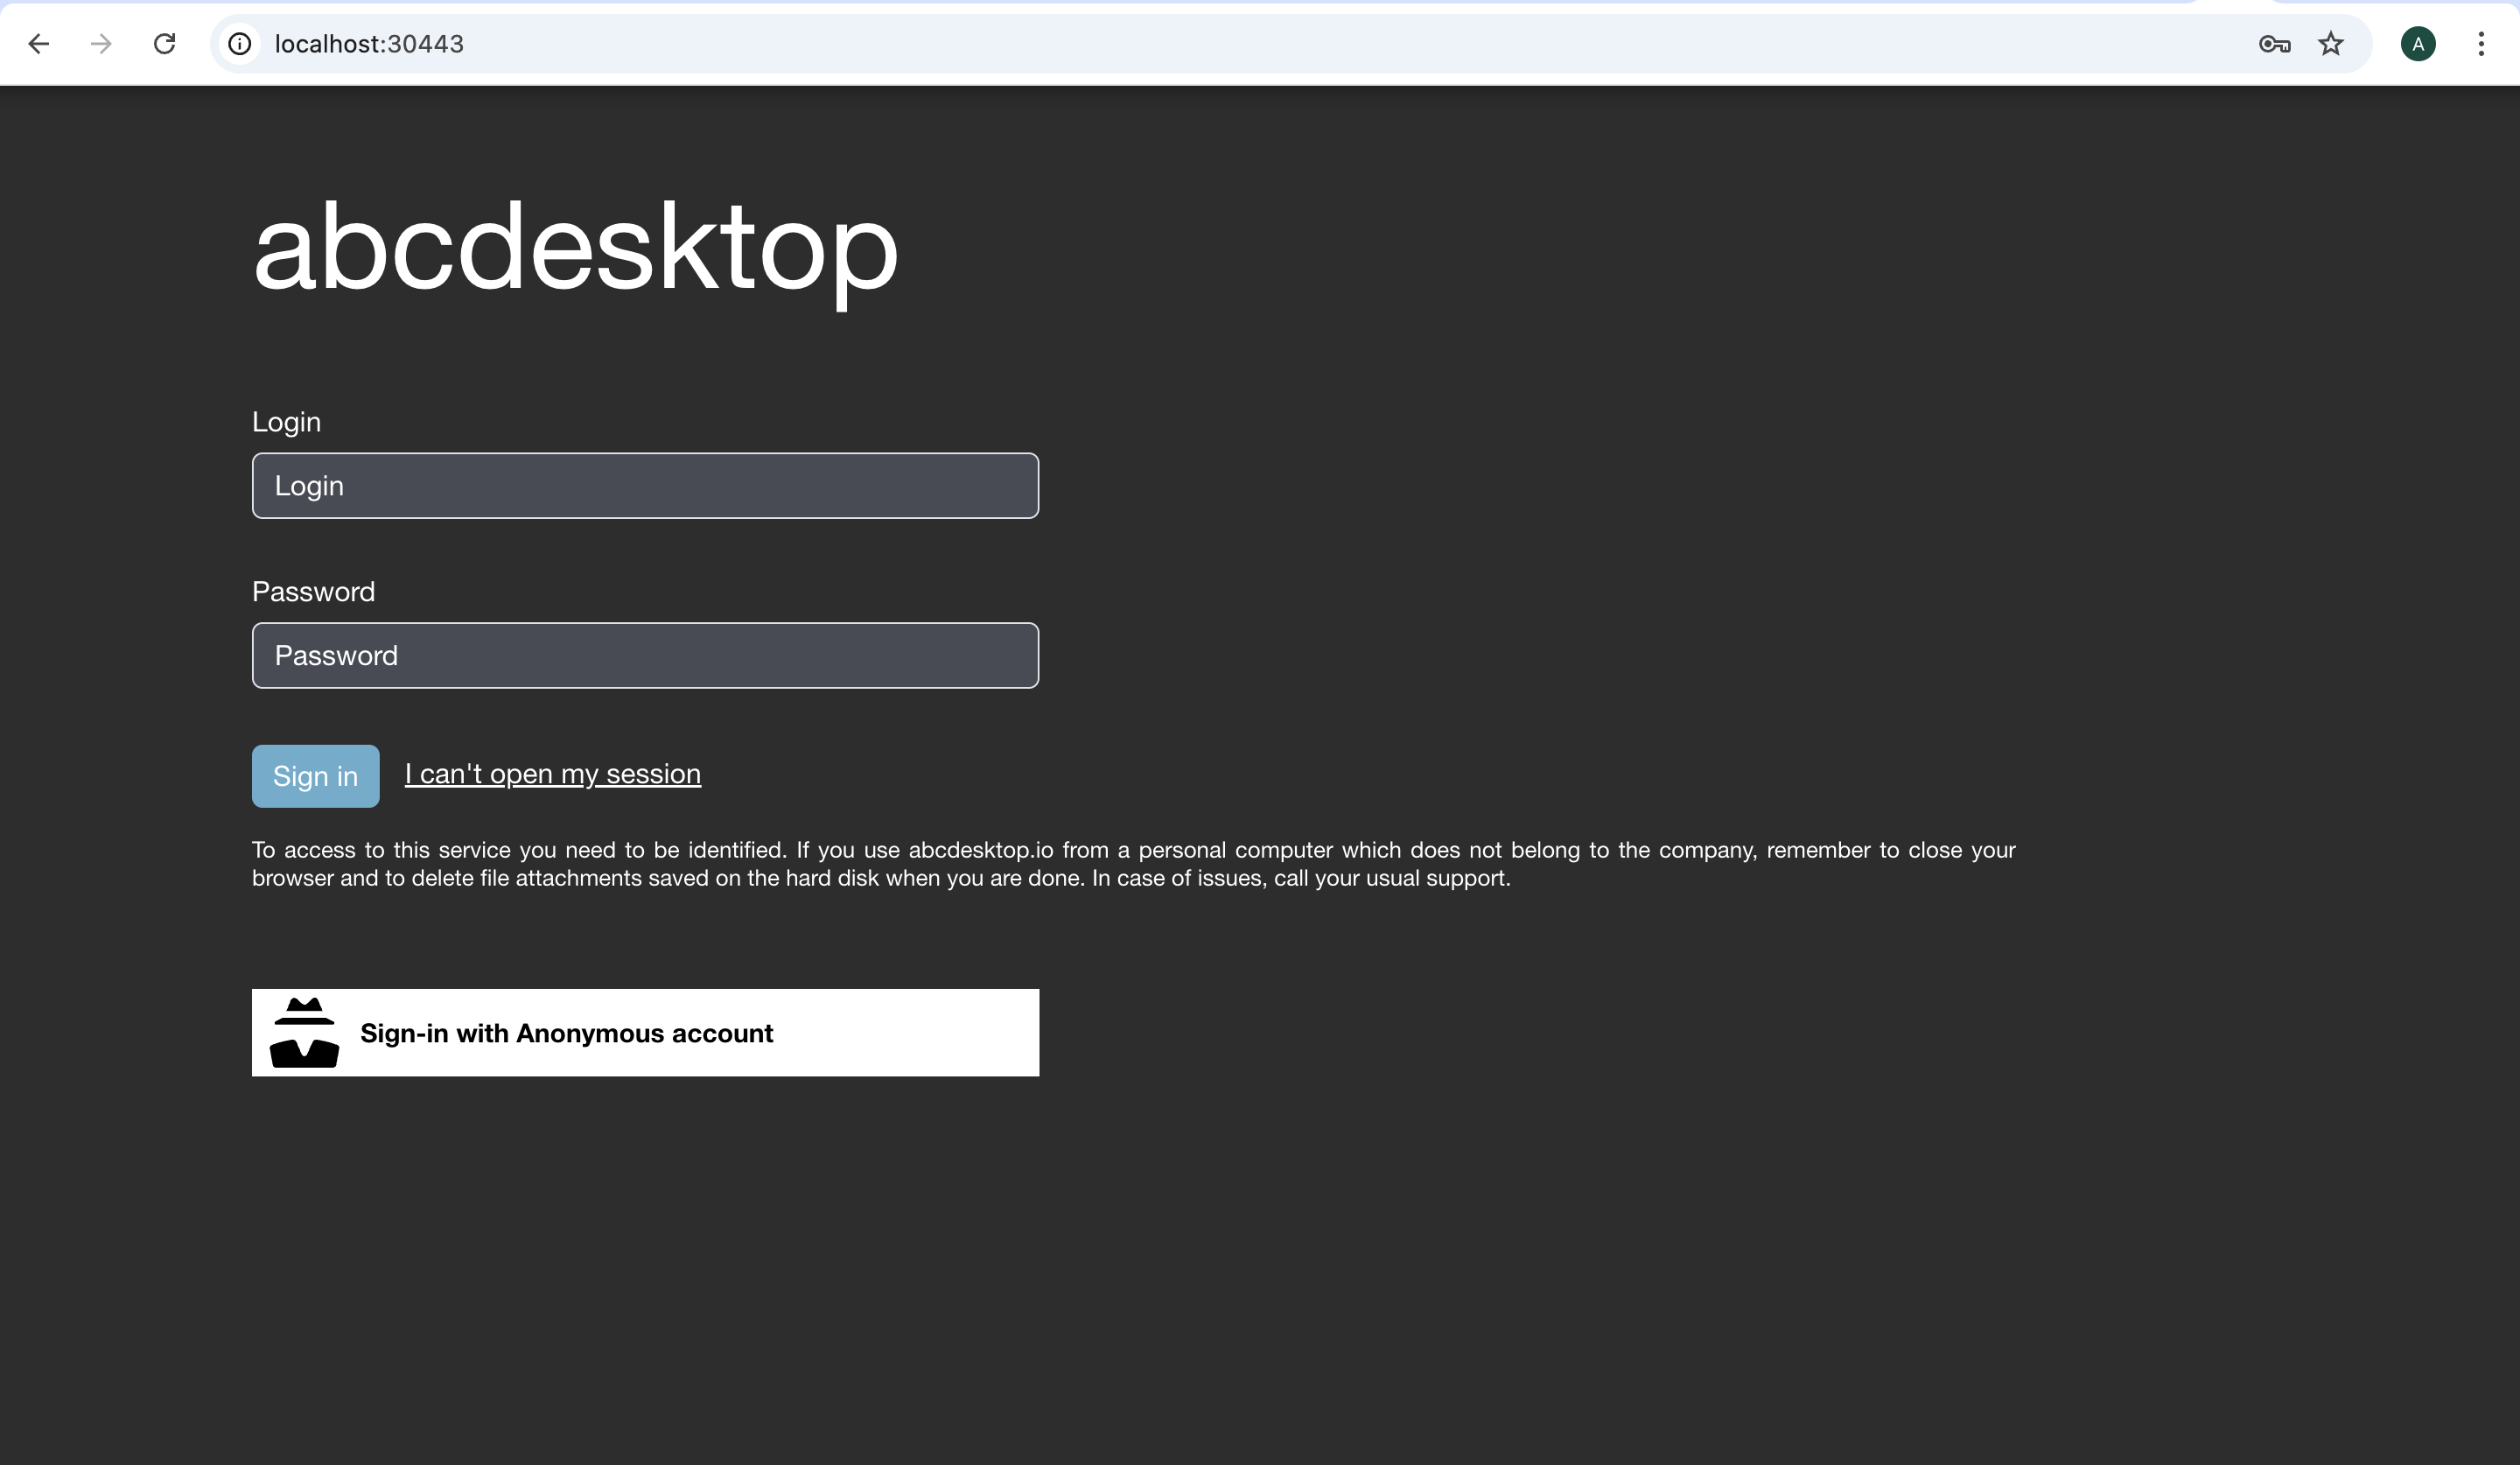
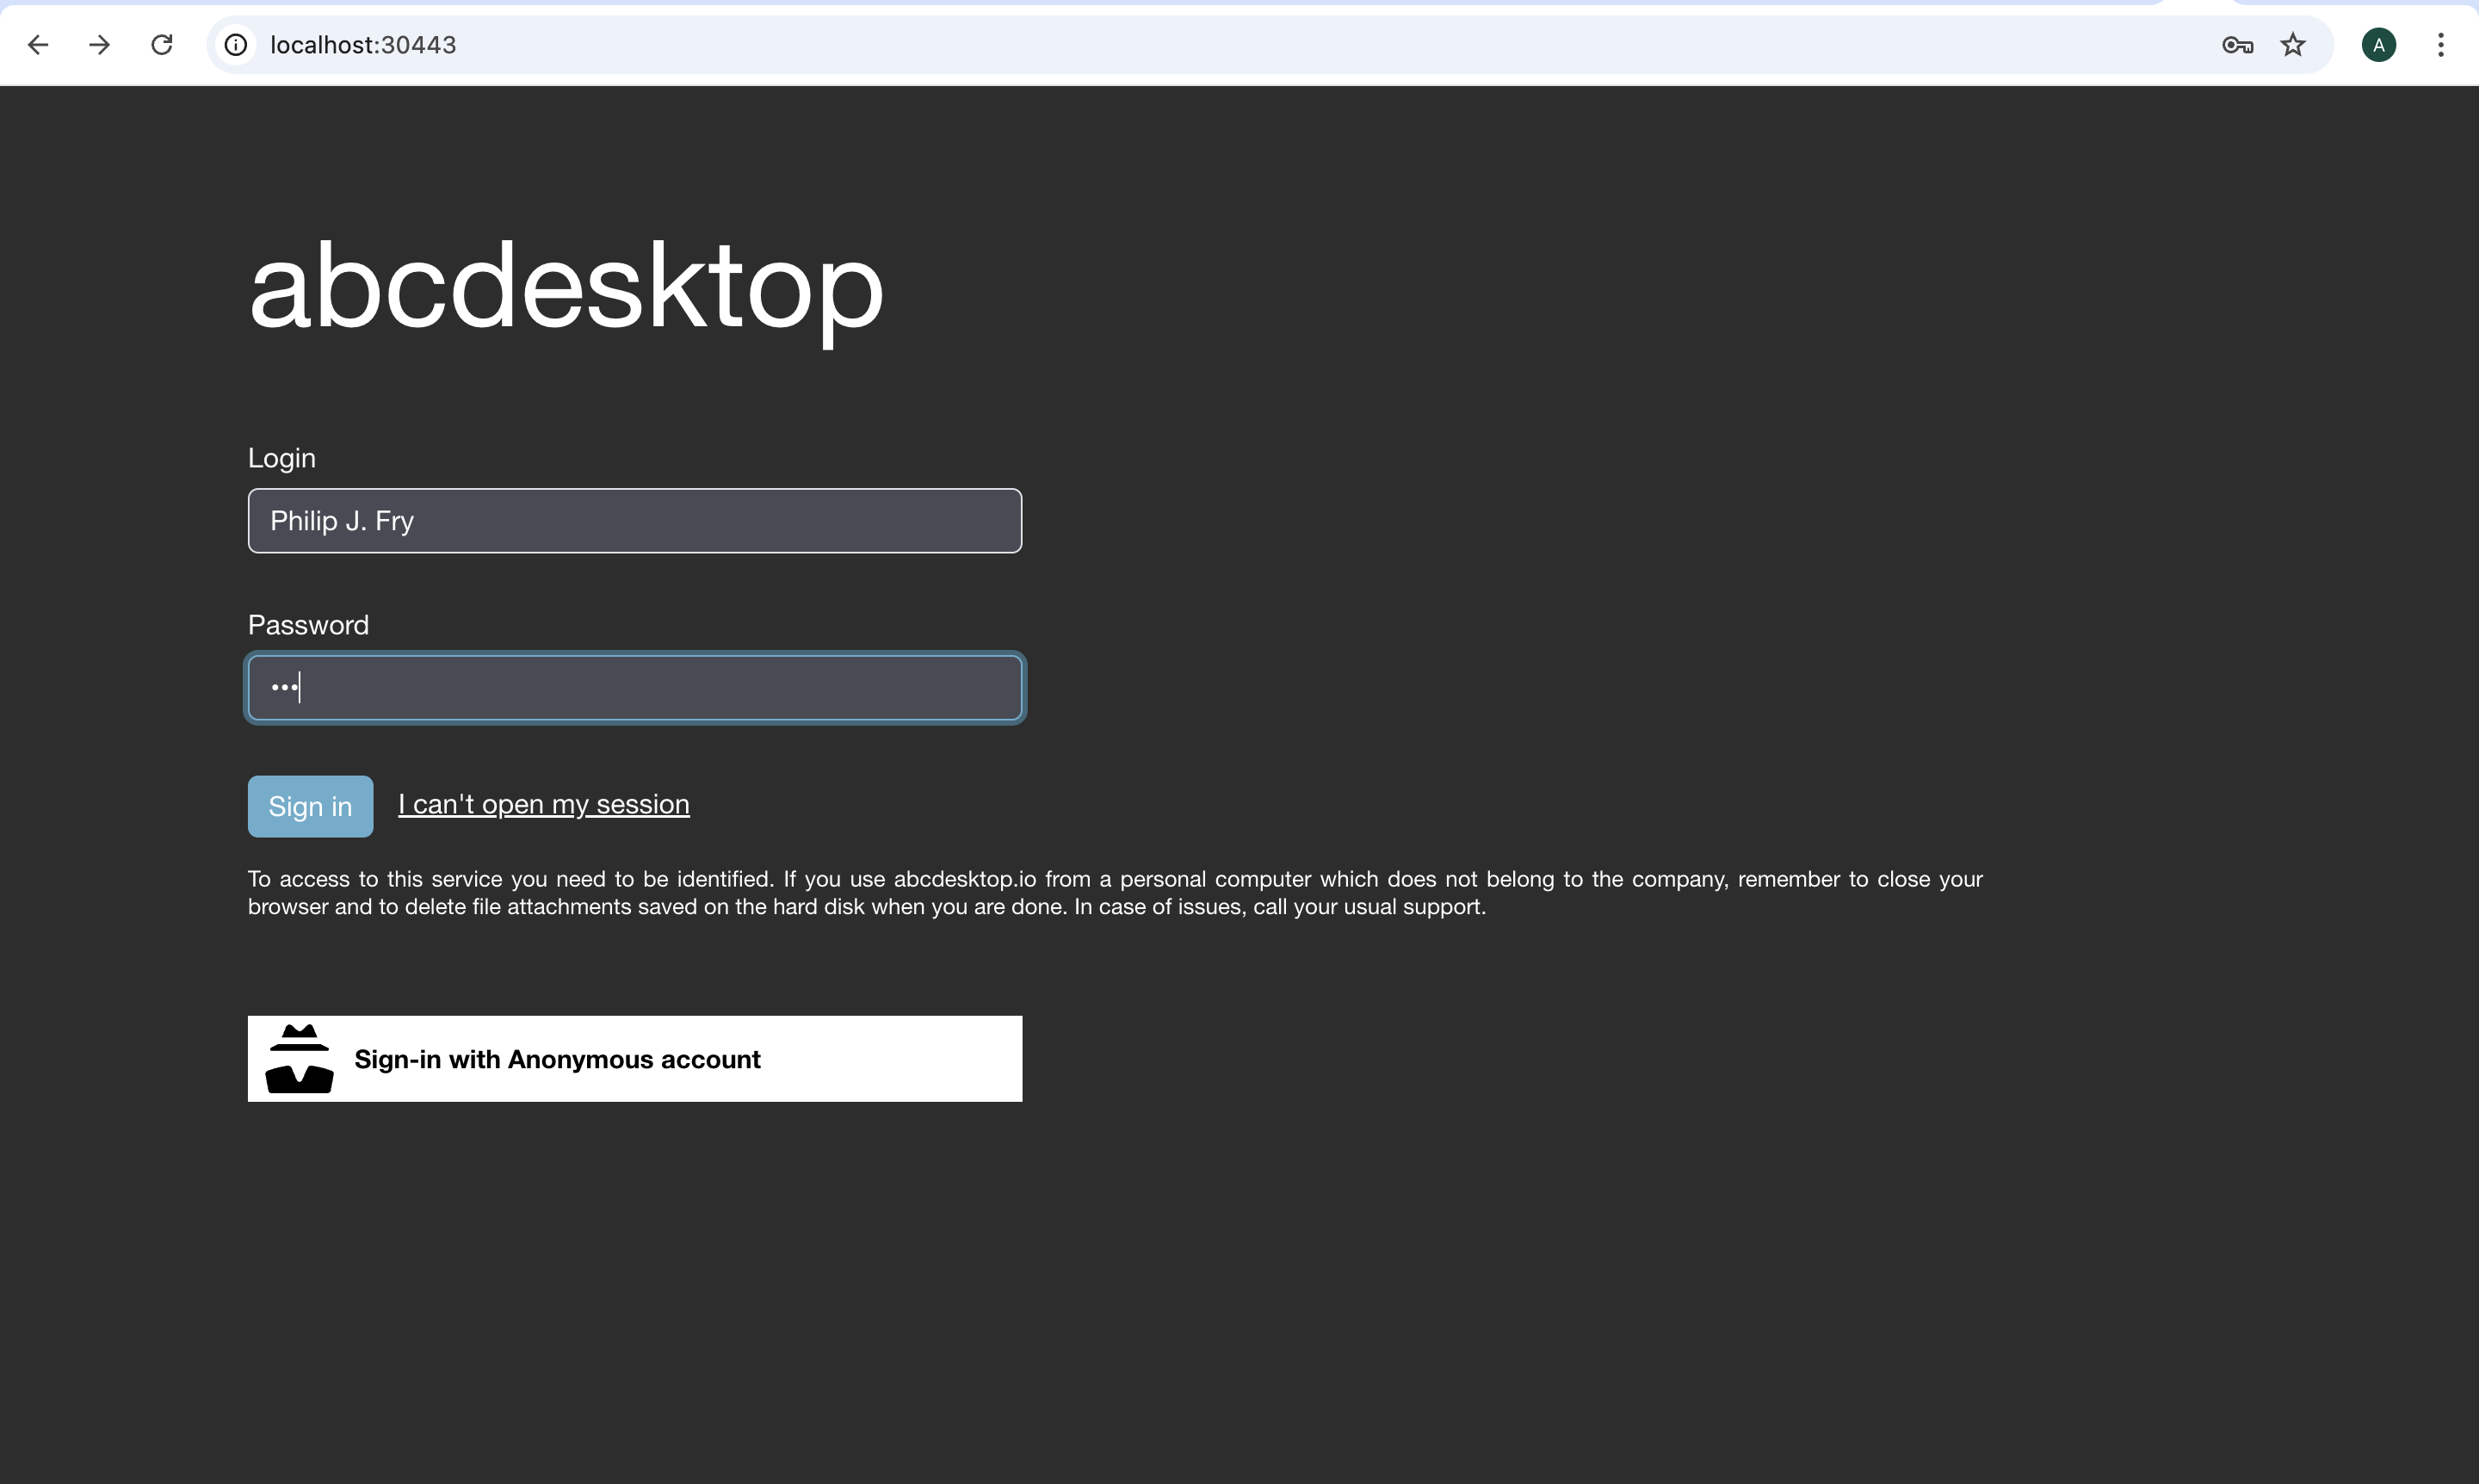
Login as user Philip J. Fry with the password fry
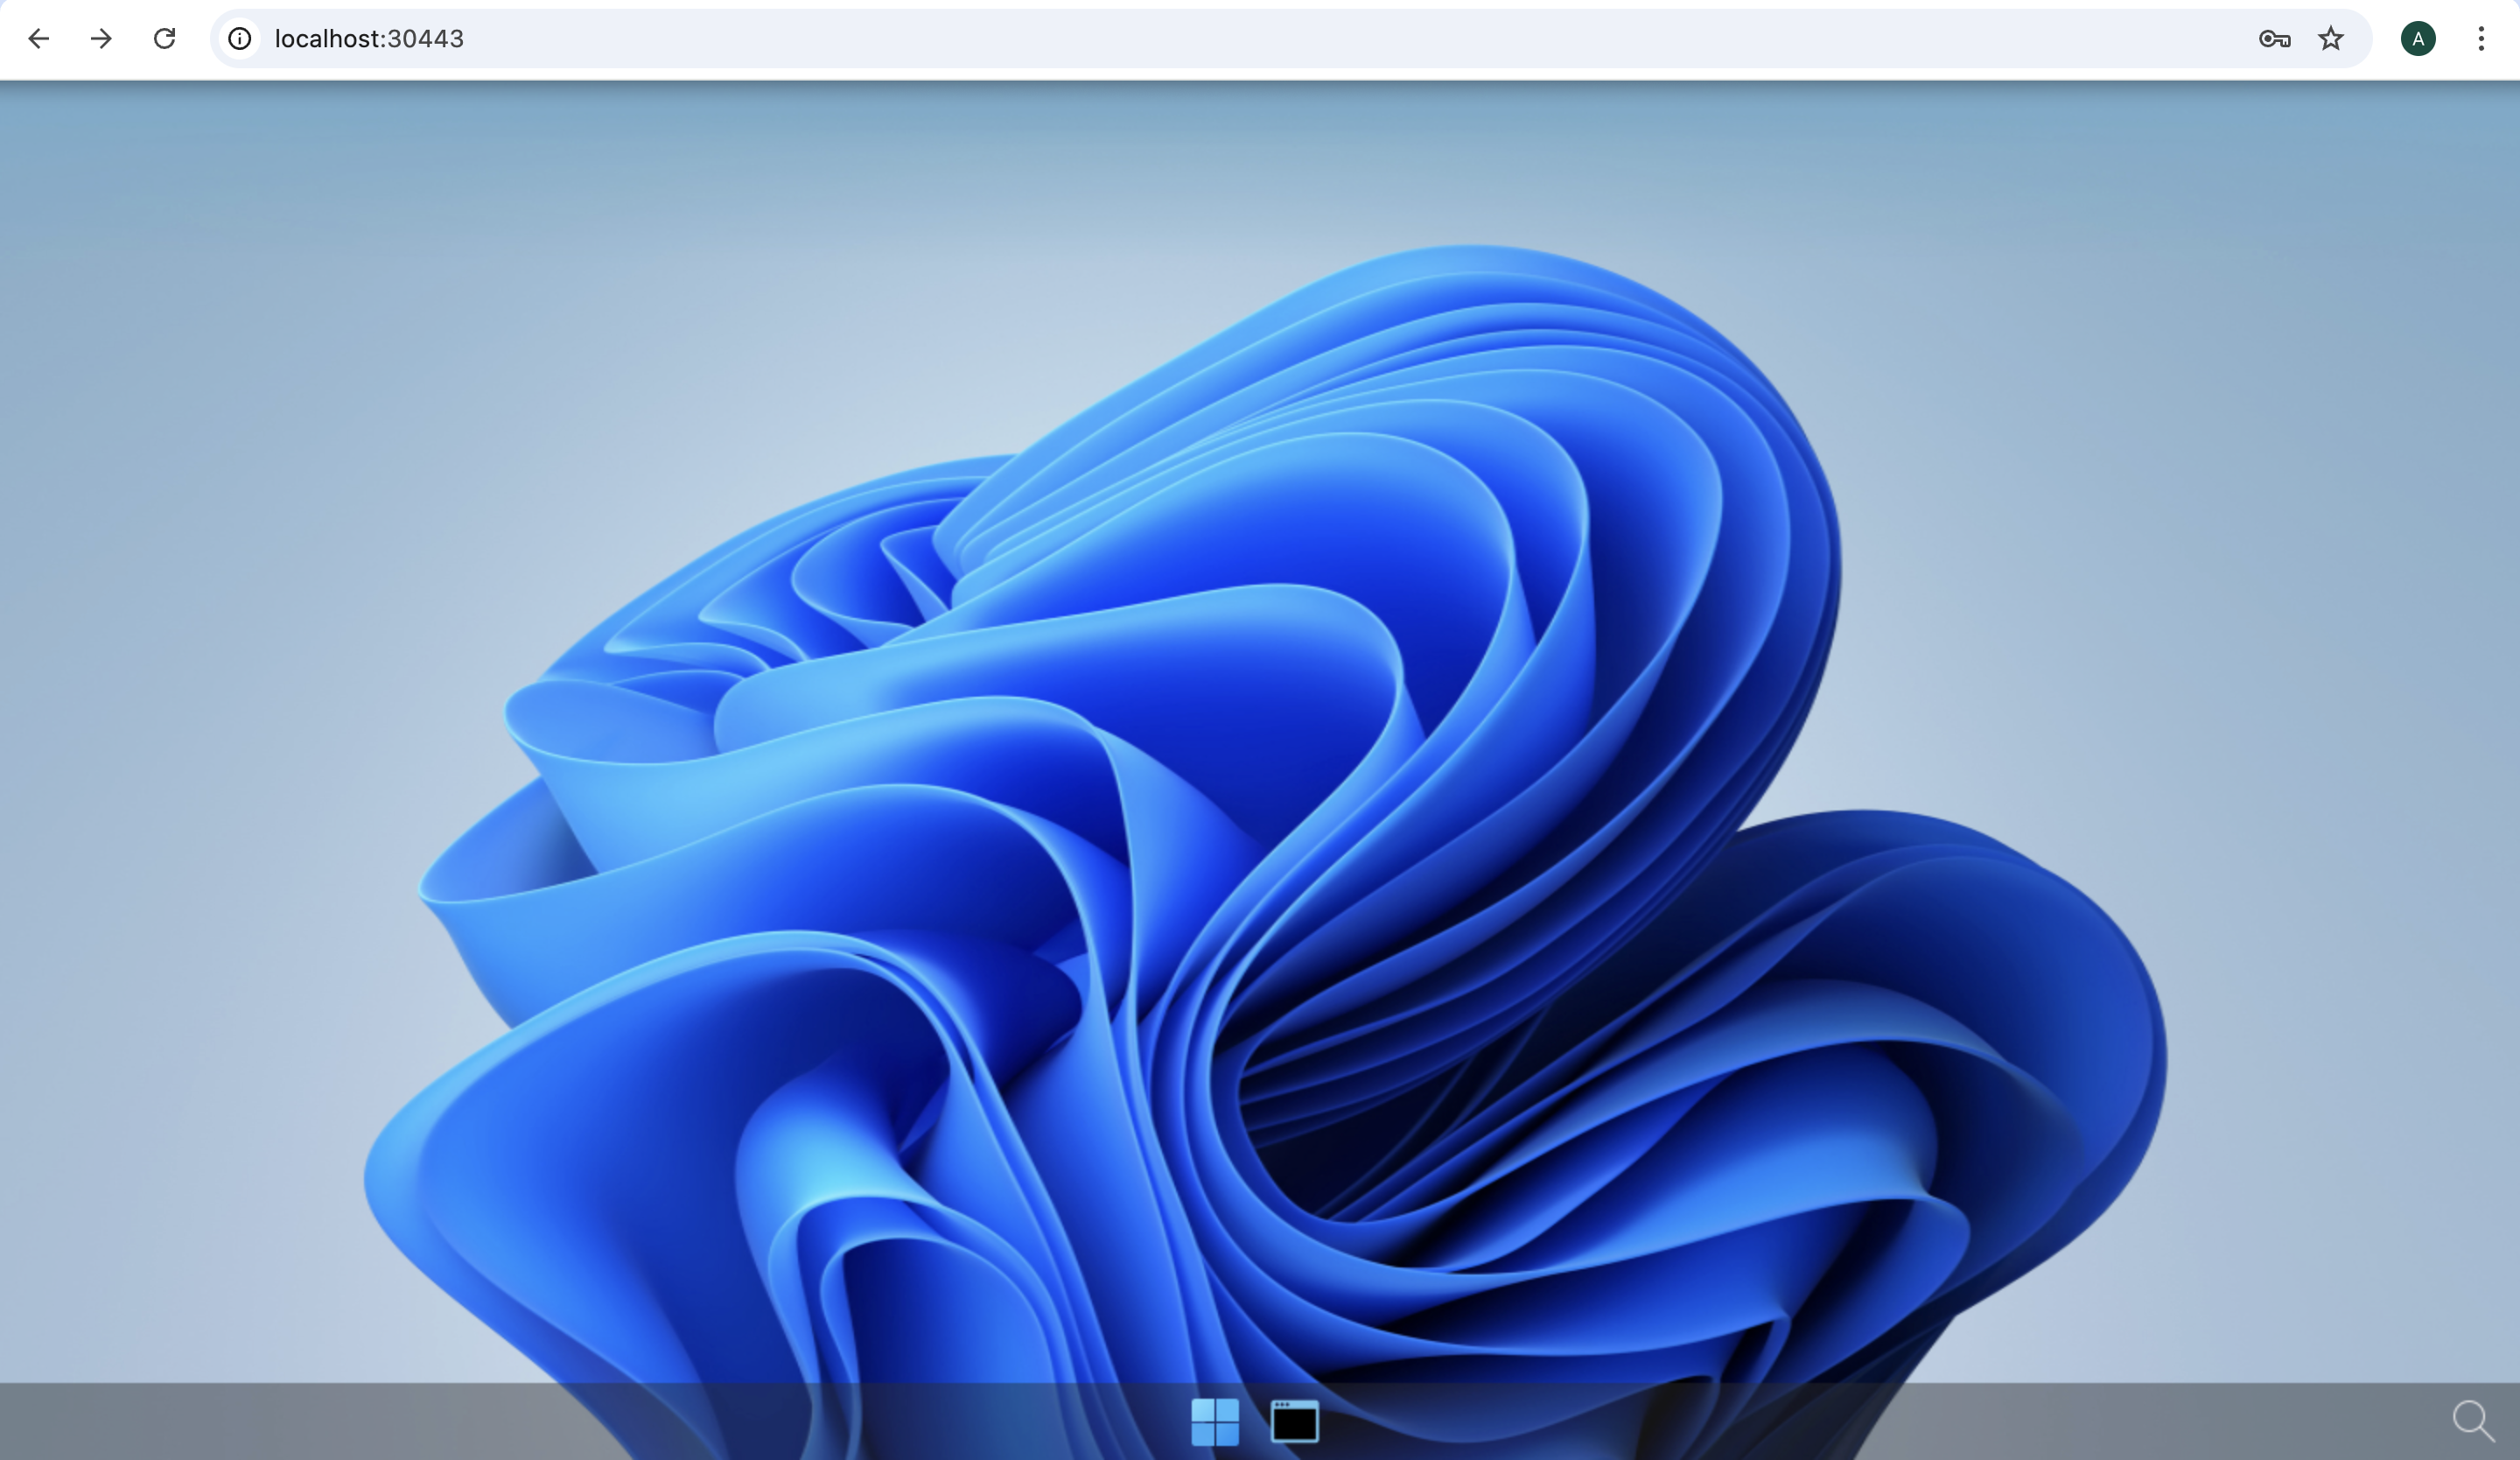
After image pulling process, you get your first abcdesktop
Add applications to your desktop
Using the previous terminal shell, run the application install script
curl -sL https://raw.githubusercontent.com/abcdesktopio/conf/main/kubernetes/pullapps-4.3.sh | bash
To get more details about the install applications process, please read the Setup applications guide
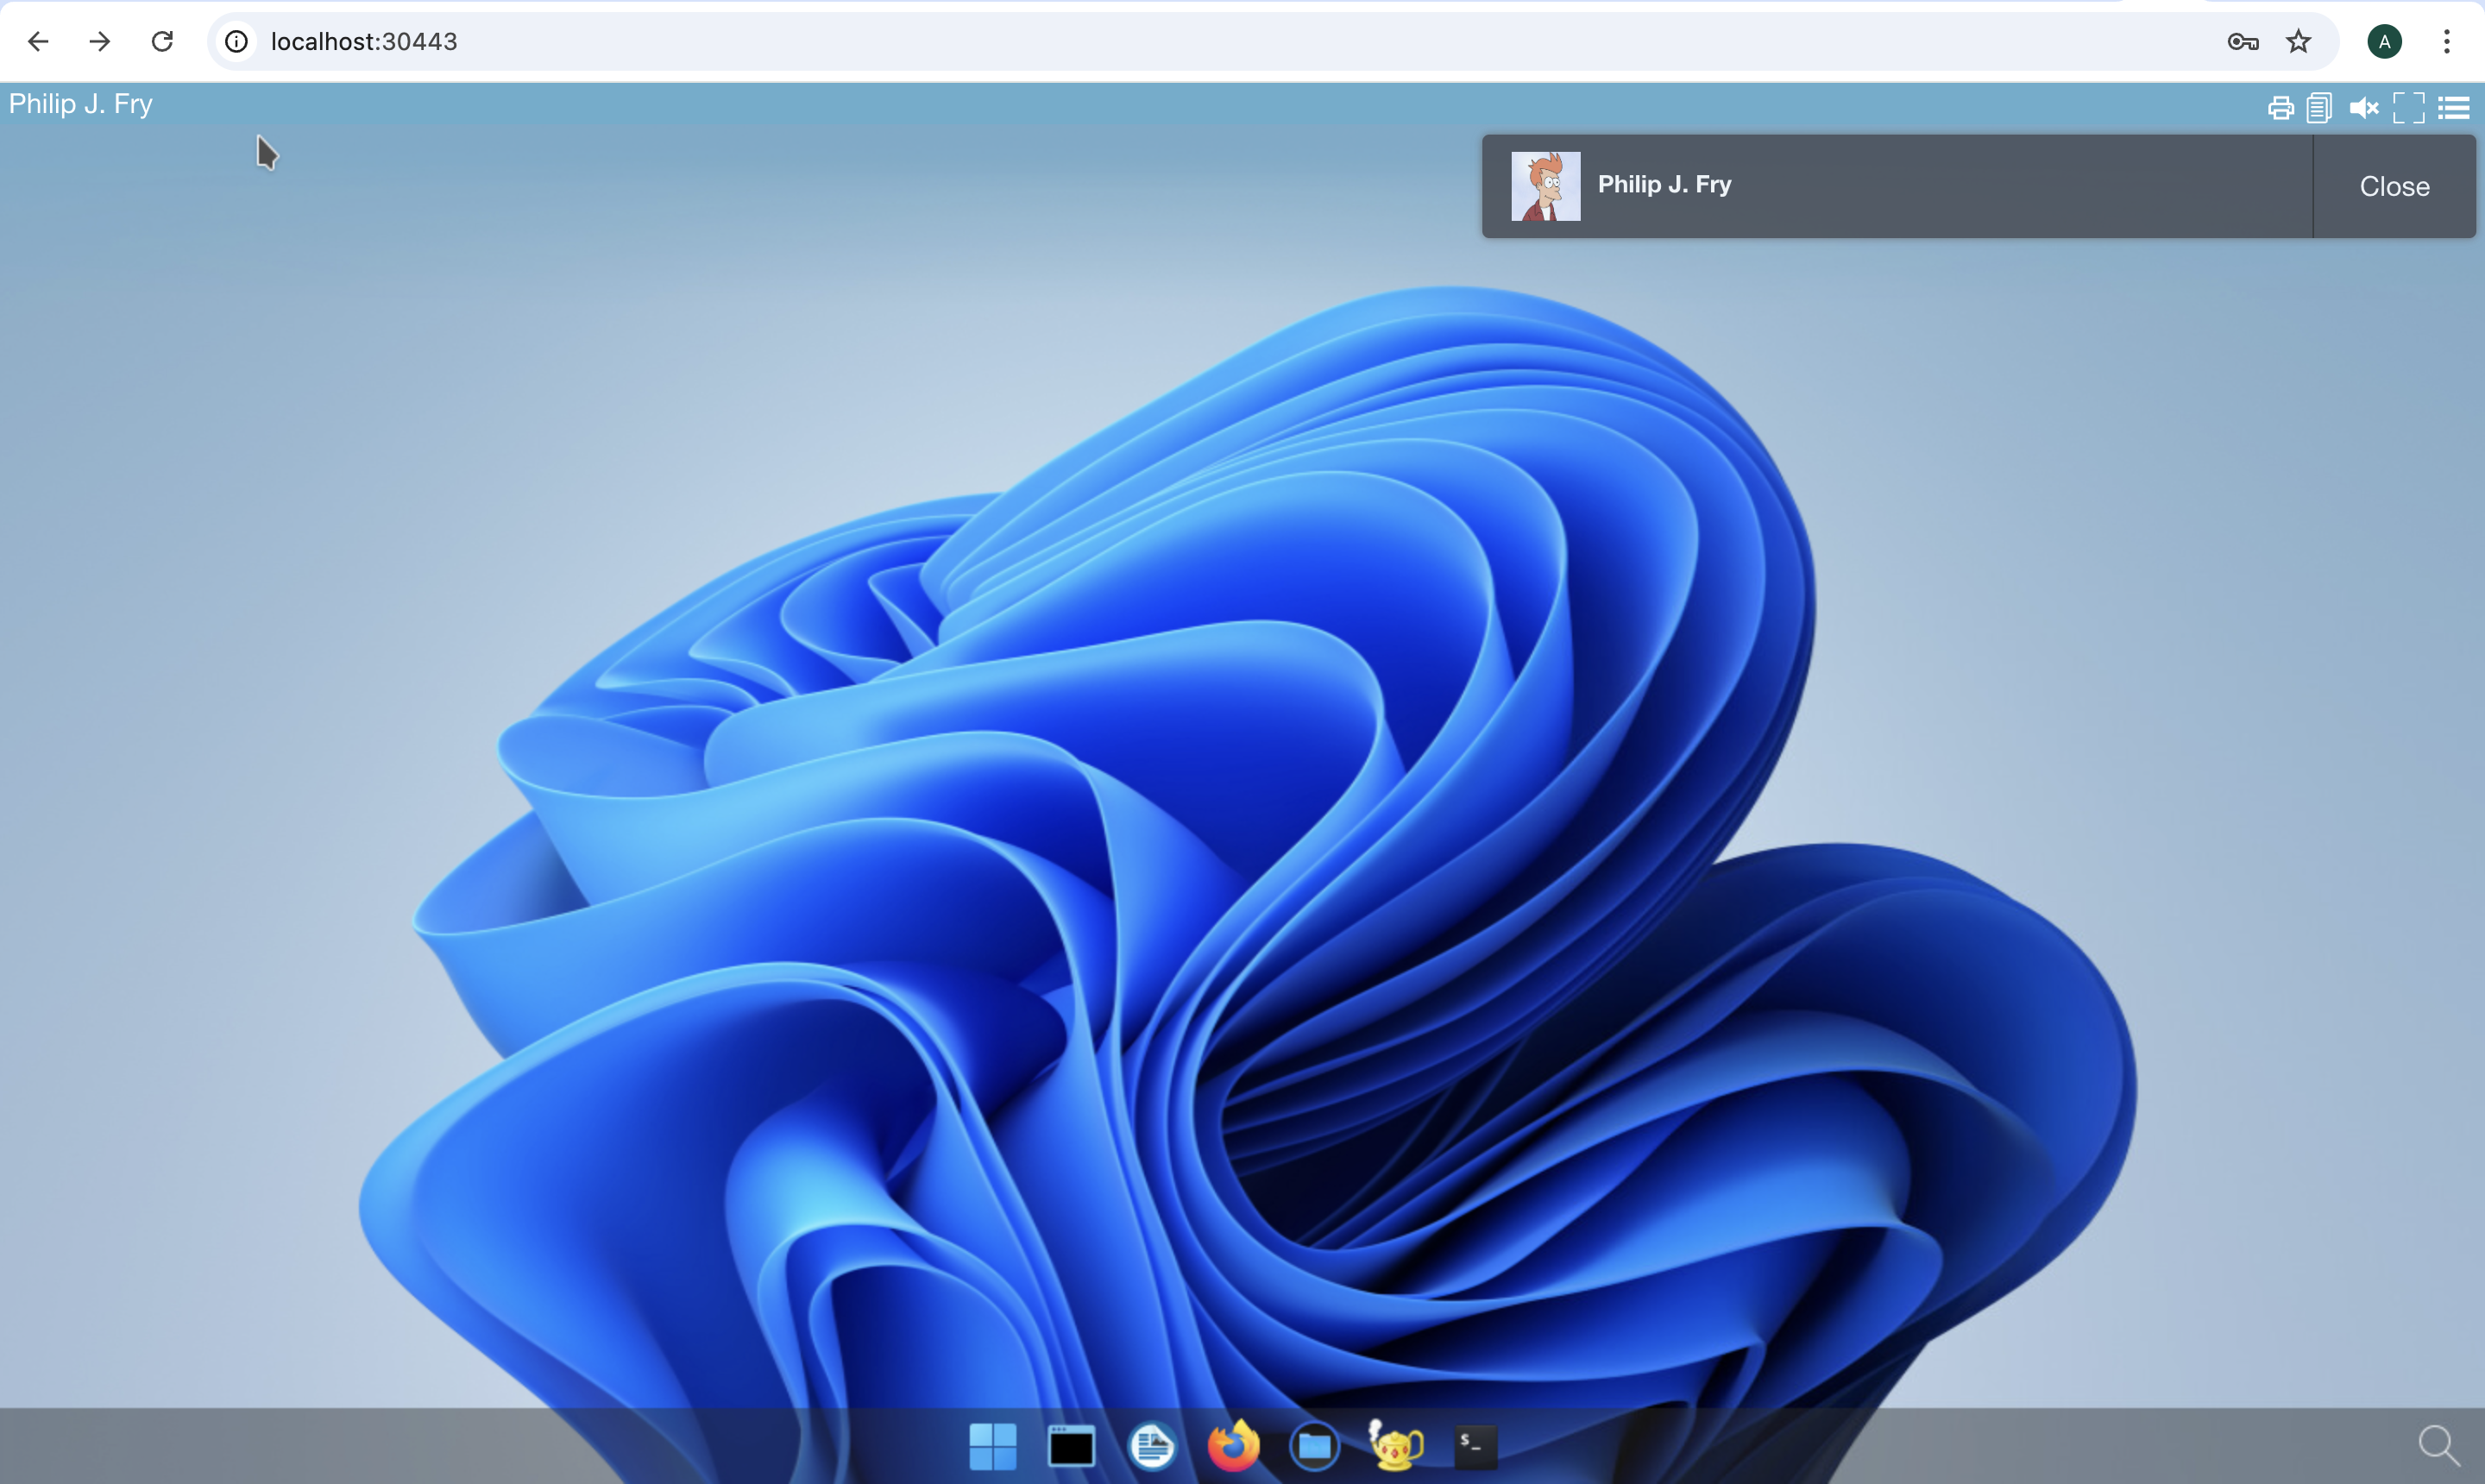
Then you just need to reload the web page with the desktop of Philip J. Fry
New applications are now listed in the dock of plasmashell.
Start Firefox application
The first run may involve waiting for the image pulling process to finish
Go to https://mylocation.org website to check where your pod is running. In my case for the region Iowa, the desktop is located near Council Bluffs city in United States.